This post will walk you through installing Diffiemorphic’s DAZ Importer script and how to bring a figure from DAZ Studio into Blender.
You will need:
- DAZ Studio (available here).
- Blender (available here). I’m using version 2.93.1 installed and kept updated via Ninite.
- Thomas Larsson’s (diffiemorphic) DAZ Importer Script (available here).
Step 1 - Install DAZ Studio
Step 1 - Install DAZ Studio
Follow the documentation that comes with DAZ Studio and go ahead and install it on your PC. If you need help installing DAZ Studio, please contact DAZ3D for assistance.
Step 2 - Install Blender
Step 2 - Install Blender
Follow the documentation that comes with Blender and go ahead and install it next on your PC. If you need help installing Blender, please reach out to the Blender project for assistance.
Step 3 - Download the DAZ Importer Script from Diffiemorphic's website
Step 3 - Download the DAZ Importer Script from Diffiemorphic’s website
Download the script from Diffeomorphic: Daz Importer version 1.5 and save it someplace where you can find it easily. Your Downloads folder is a good choice.
Step 4 - Launch Blender, because we're going to install the DAZ Importer Script as an add-on.
Step 4 - Launch Blender, because we’re going to install the DAZ Importer Script as an add-on.
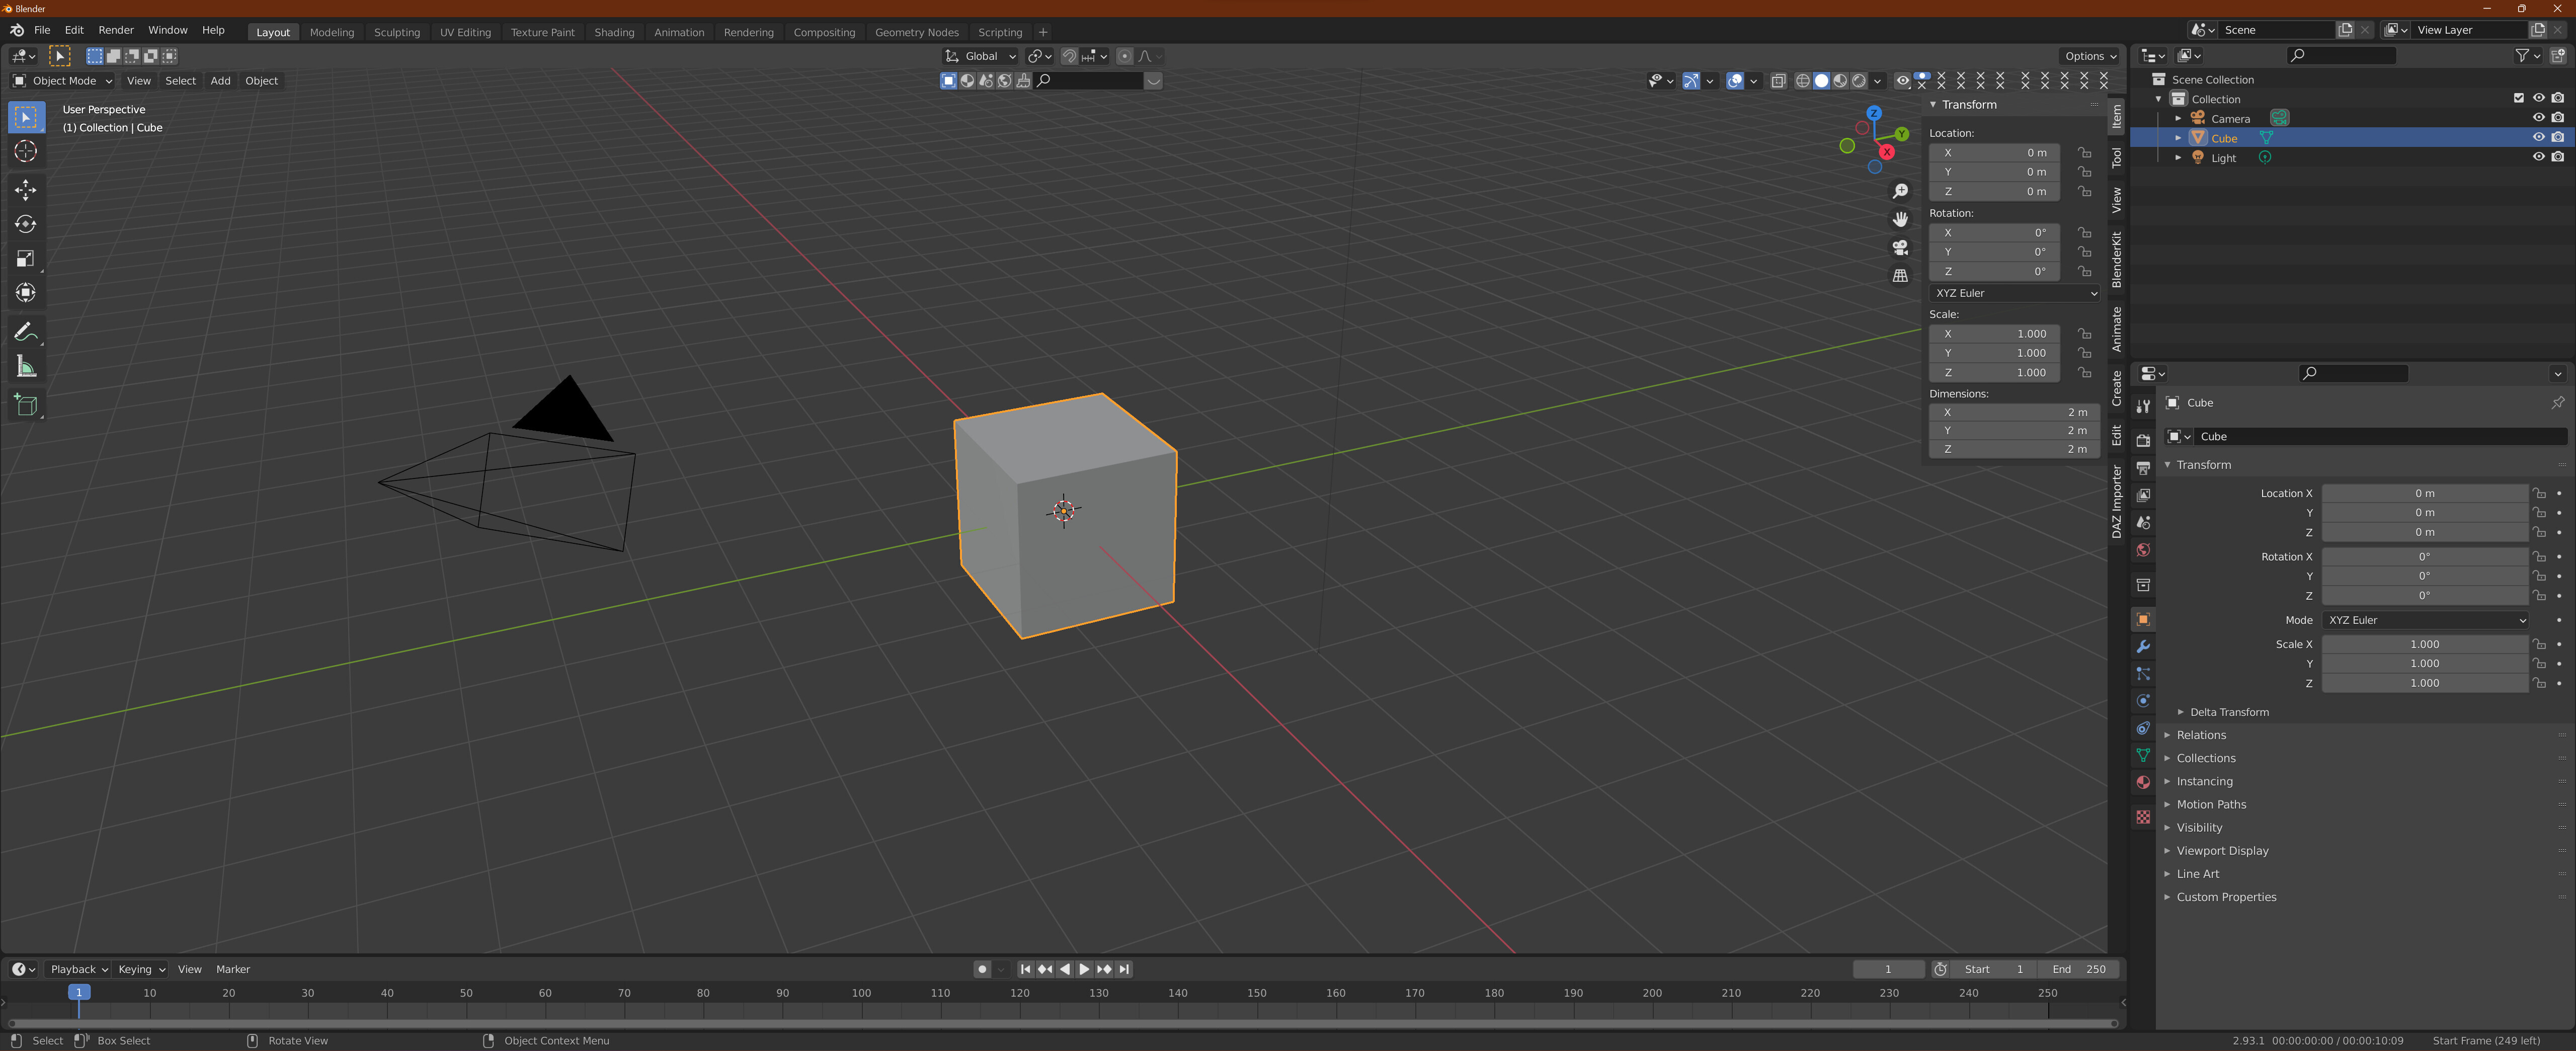
When you launch Blender for the first time (and after you set some initial preferences) your workspace will look like this:
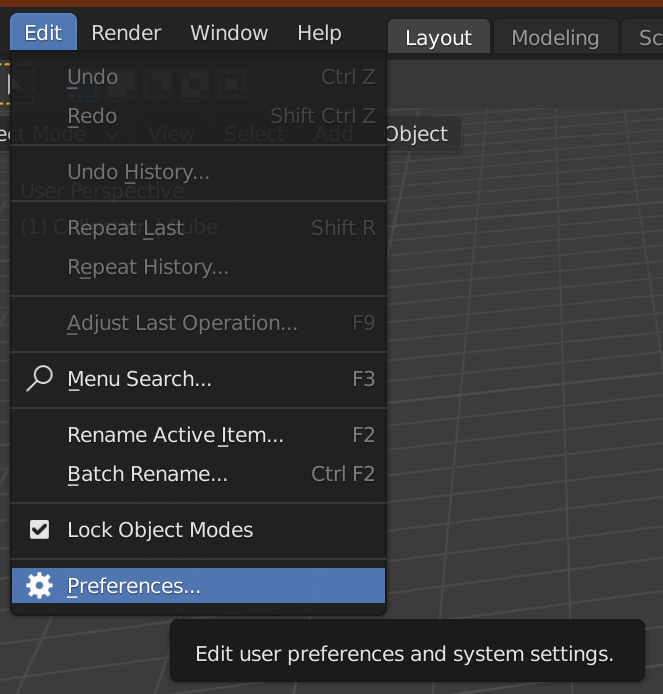
Go into Edit > Preferences:
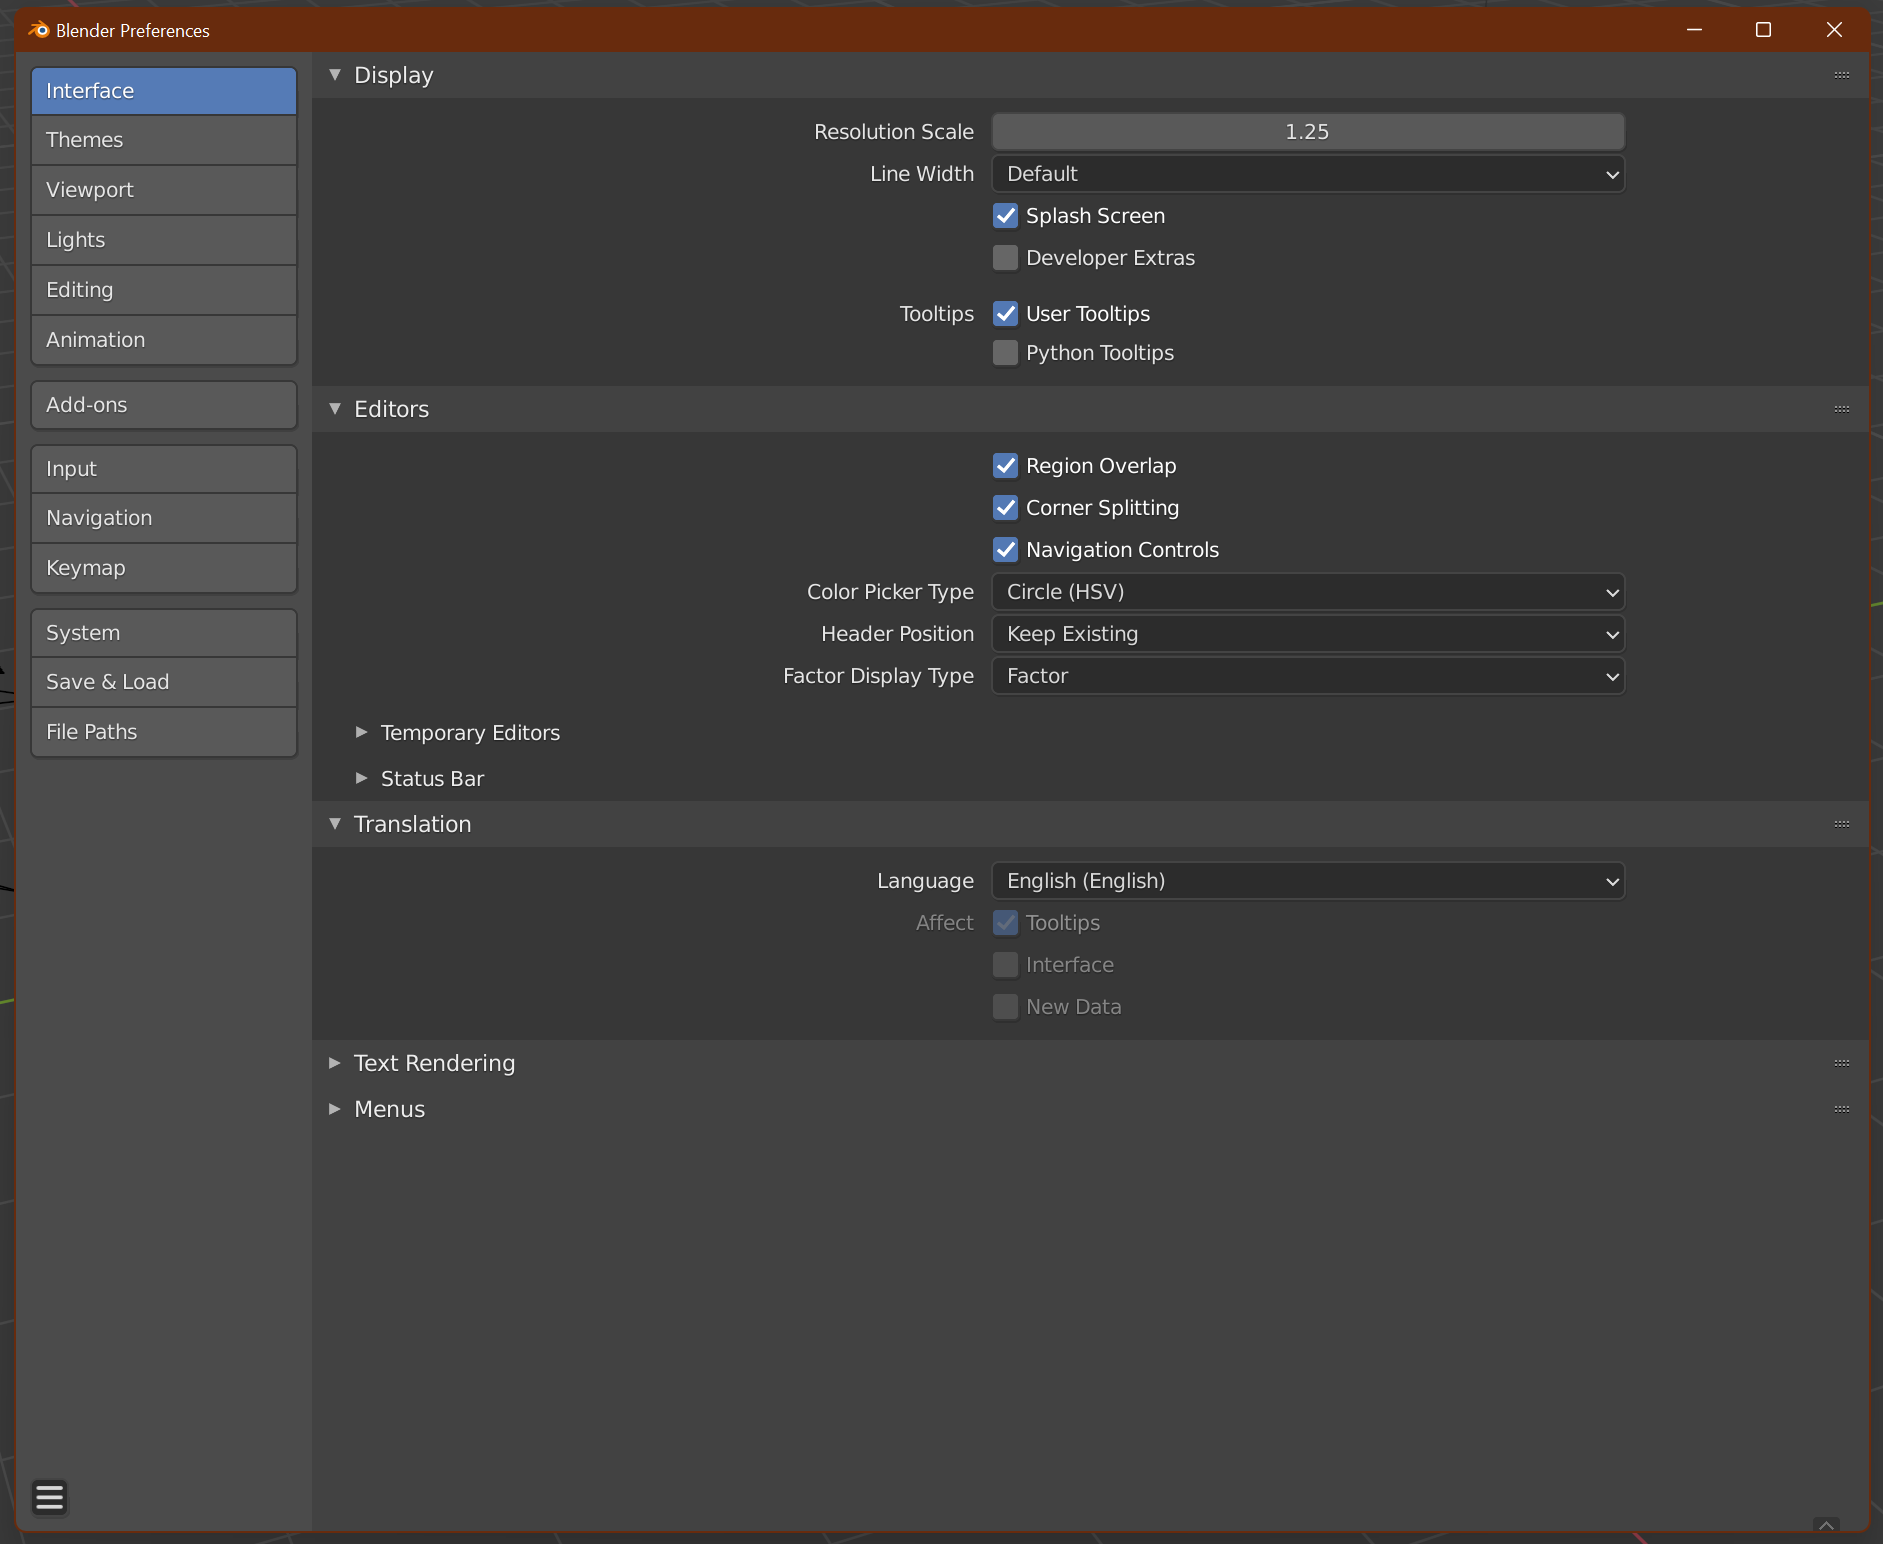
Which will open a new window:
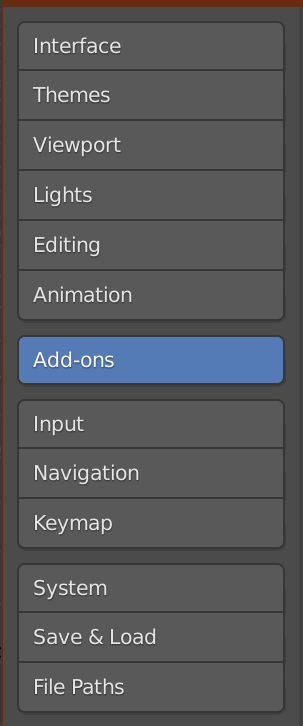
Select “Add-ons” (towards the middle of the group of selectors on the left):
Select the Install option (second from the right, top row):

A new window will open allowing you to select the file that you downloaded in Step 3 above.
You want to select the ZIP file you downloaded from Thomas Larsson’s website.

Select the ZIP file and click on the Install Addon button highlighted in blue at the bottom of the window.
The Add-ons window will refresh to show the “Import-Export: DAZ (.duf, .dsf) Importer” entry.

Click the tiny square to put a check-mark inside it to enable/ activate the new plugin:

You can close the window by clicking the “X” in the upper-right corner (just like you would close any other type of window in Windows.)
Step 5 - Go ahead and unzip that DAZ Importer Script zip file you downloaded.
Step 5 - Go ahead and unzip that DAZ Importer Script zip file you downloaded.
We need to pull some DAZ Studio scripts out of it and install them into Studio.
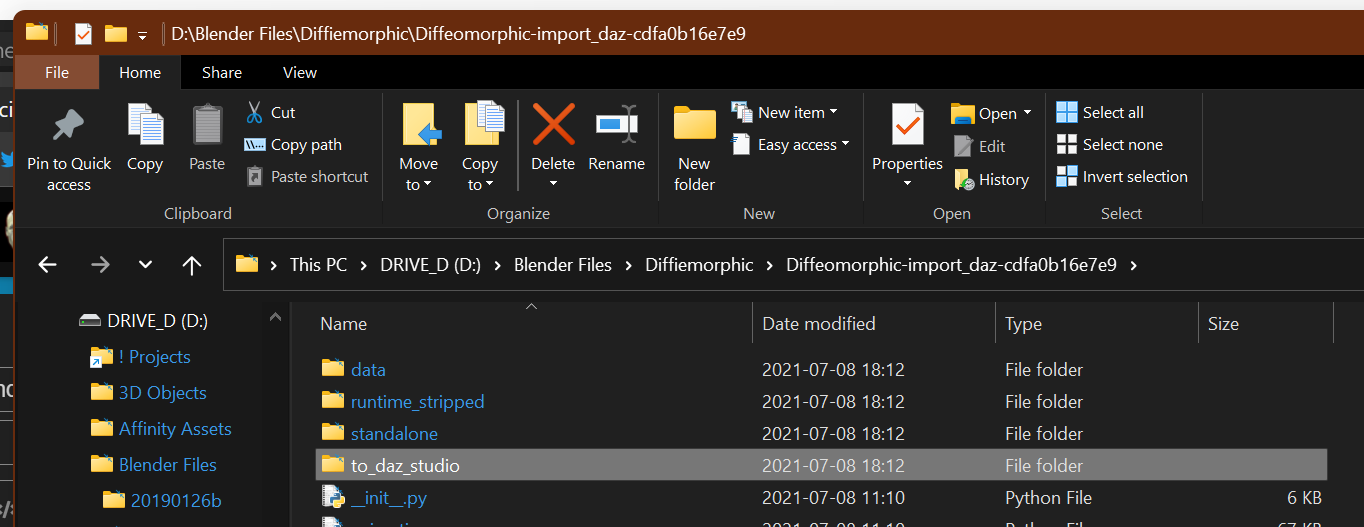
When you have it unzip’d you should have a new folder with the same name as the ZIP file that you downloaded:
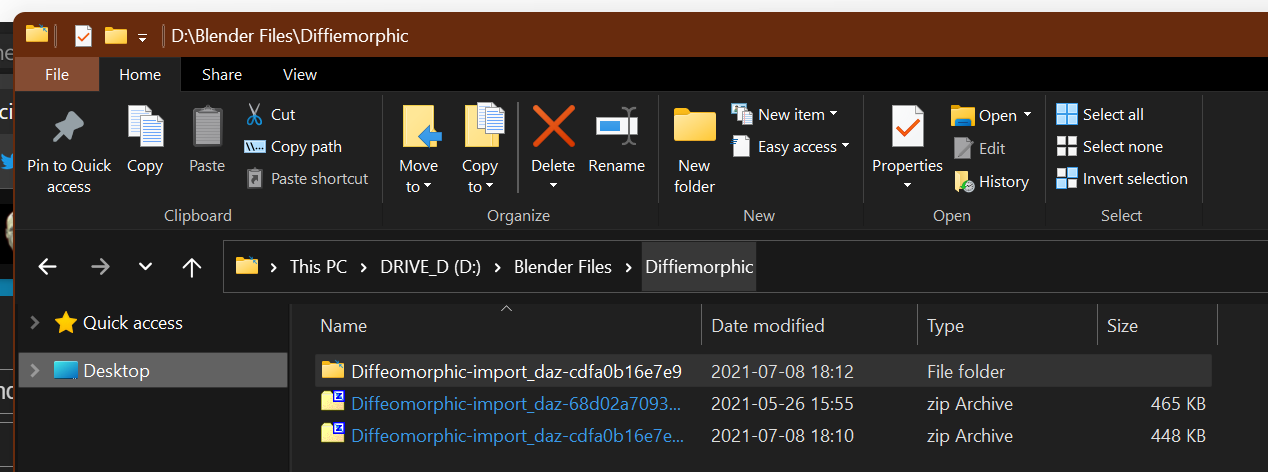
Open the new folder. Ignore everything in there with the exception of one folder called to_daz_studio:
There’s one folder, called Scripts. Select this folder and Copy it (^C):

Step 6 - Let's paste that Scripts folder into our DAZ Studio Content Library.
Step 6 - Let’s paste that Scripts folder into our DAZ Studio Content Library.
 If you do not know where your DAZ Studio Content Library is located on your computer, do not proceed any further until you find this out.
Navigate to My DAZ 3D Library or whatever you call your Content Library.
You want to be in the top level under Content where your data, People, Environments, Props, Shaders, and Runtime top folders are located.
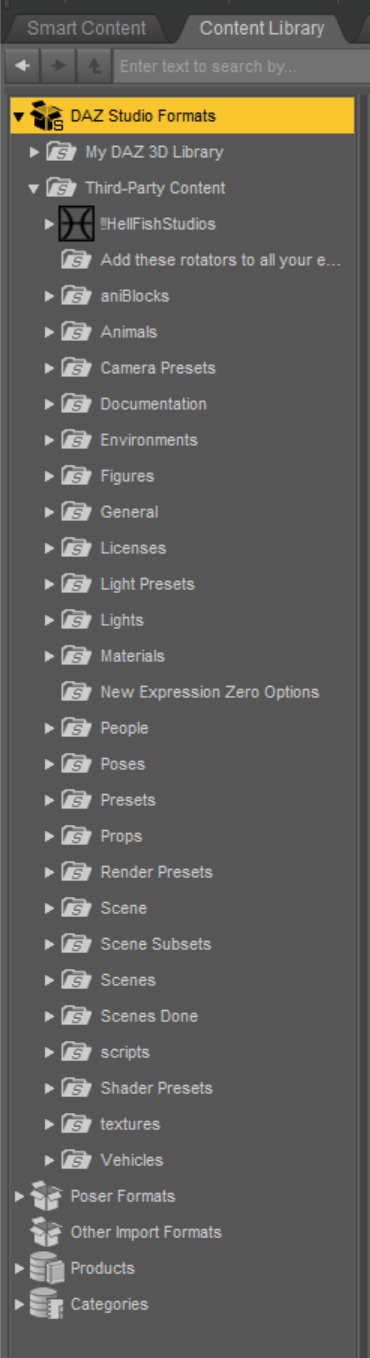
For me, and for an example only, I install all non-DAZ content into a new Content Library called “Third-Party Content”:
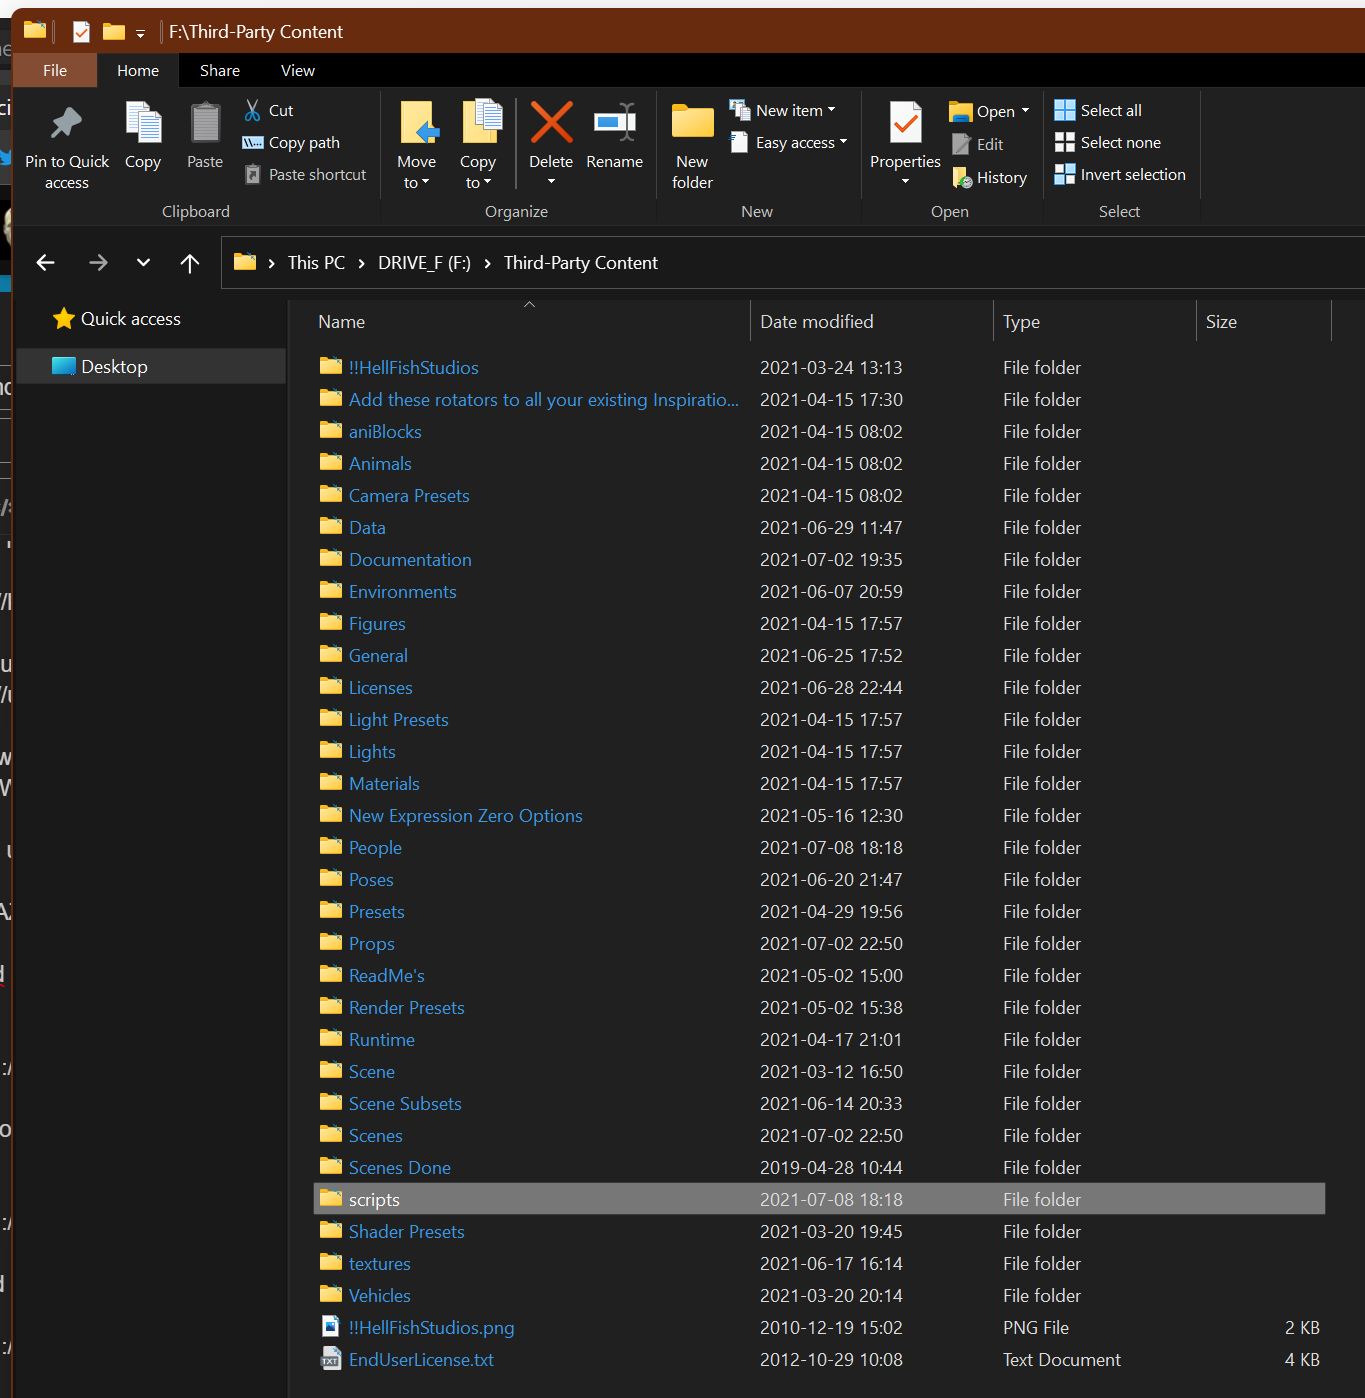
DAZ Studio Content Management is a very personal affair, with each artist pretty much having their own system. There’s no right or wrong way to organize your Content Library therefore it’s impossible for me to direct you to a single location.
In any event, as you can see from screen shot above I have my “scripts” folder highlghted to point out that this is the level I want to be in.
Don’t double-click on any of the folders in here, stay right here at thee top of your Content Library, and Paste (^V) that Scripts folder you copied in the previous step.
Step 7 - Verify that the Scripts folder was copied into the right location.
Step 7 - Verify that the Scripts folder was copied into the right location.
Go ahead and double click your Scripts folder to open it up.
Look for a folder called “Diffiemorphic”:
If you can not find a folder called Diffiemorphic, repeat steps 5 and 6 above until you have a Diffiemorphic folder under your Content\Scripts directories.
Step 8 - Launch DAZ Studio because we need to setup your directories.
Step 8 - Launch DAZ Studio because we need to setup your directories.
Launch Studio. Your window will probably not look like this but as long as you have it up and running that’s really all we need right now:

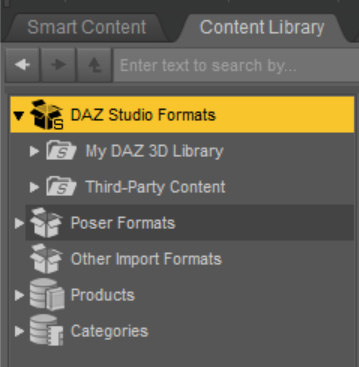
Navigate to your Content Library. It should look something like this:
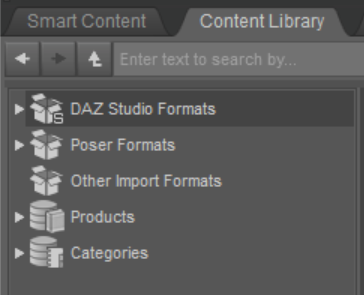
Expand DAZ Studio Formats:
Find the Content Library where you copied the Scripts folder into.
Most Studio users only one have 1 content library, so odds are your’s is going to be the My DAZ 3D Library.
Which library you select isn’t important, as long as it’s the same library where you copied the Scripts folder into (if you have more than 1).
When you expand the library you will see that it has many of the same folders that were shown in Explorer back in Step 6 above:
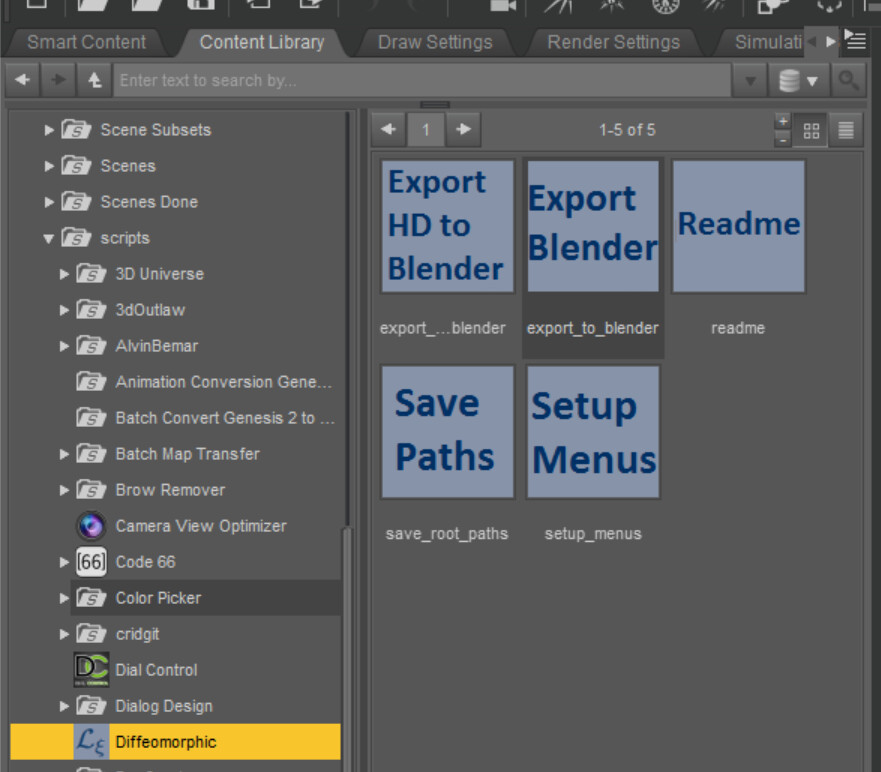
Find the Scripts folder and expand it:

Hopefully you’ll see the Diffiemorphic folder that we verified existed in Step 7 above.
Go ahead and CLICK that folder to open it.
Step 9 - Setup the Menu
Step 9 - Setup the Menu
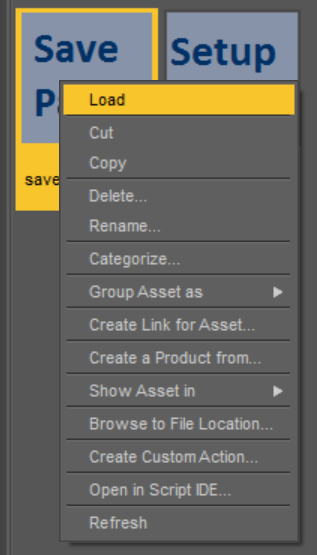
Right click on the icon that says Setup Menus and select “Load”:

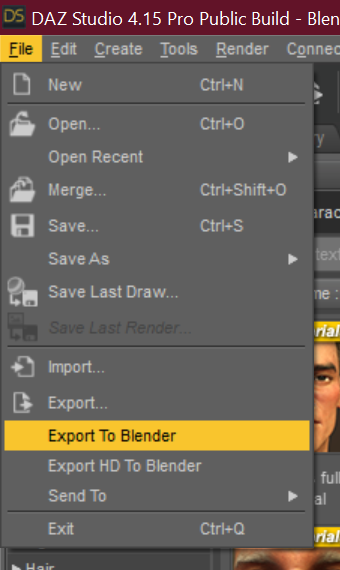
Follow the prompts on the screen and when the script finishes, you will have a new menu option under “File” called “Export Blender” and “Export HD to Blender”.
Which are just links to those same scripts in this same folder. But, by giving you shortcuts to these scripts under the File menu it saves you from having to navigate to this Scripts folder every time you want to export a model.
Step 10 - Save Paths
Step 10 - Save Paths
Next, right-click on the icon marked Save Paths and select “Load” to run it.
A dialog box will open prompting you to save a file. The default is your DAZ Studio Content Library. I recommend actually using your user Documents folder actually. It usually makes finding the file again a little easier.
Keep the default name and click Save.
Step 11 - Configure the DAZ Importer Plugin on Blender
Step 11 - Configure the DAZ Importer Plugin on Blender
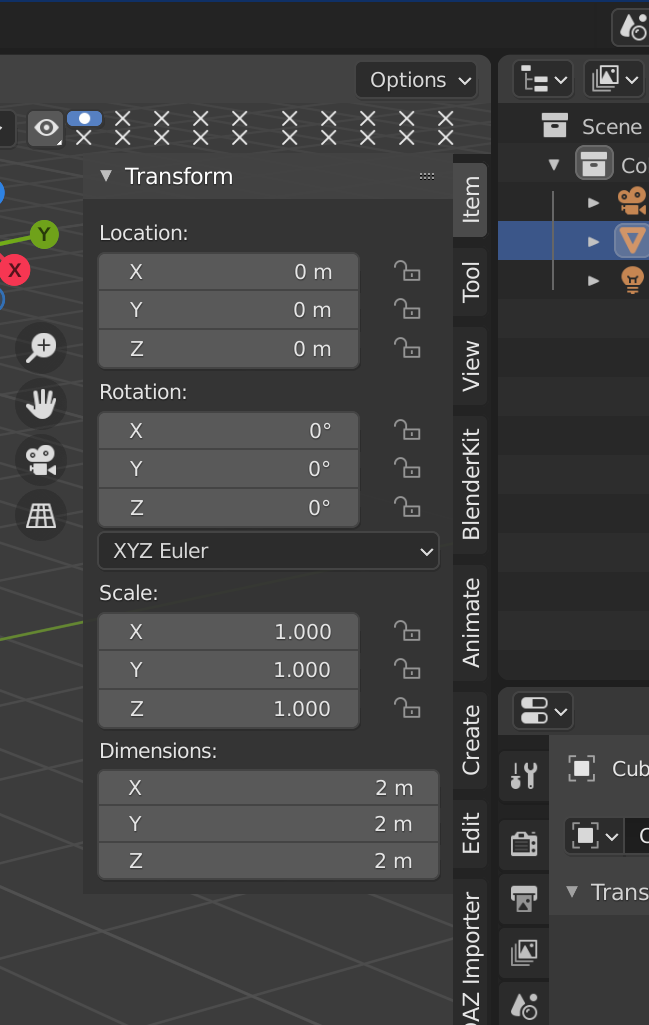
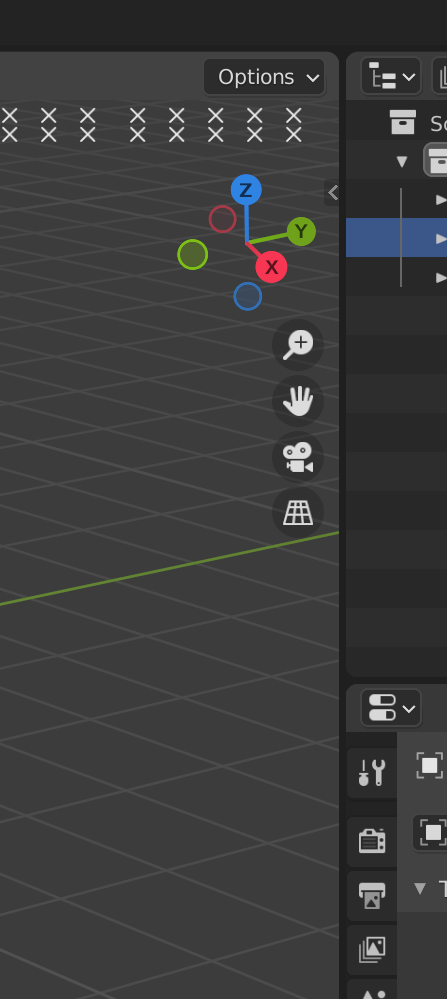
Now that we’ve saved the DAZ Studio paths in Step 10 above, let’s switch over to Blender so we can go ahead and configure the DAZ Importer plugin on Blender, make sure your mouse cursor is in the main window/ workspace and press the “N” key on your keyboard to toggle the Sidebar from being shown or hidden:
Shown:
Hidden:
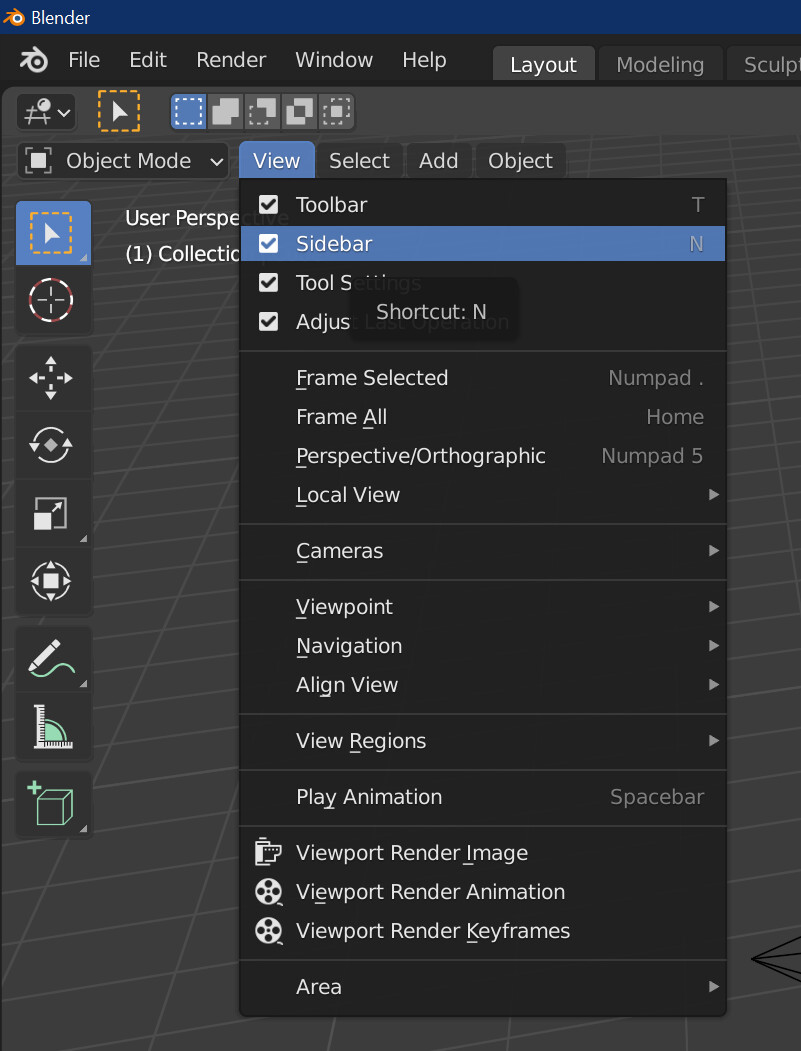
You can also use the View menu in the upper-left part of the main window/ workspace and toggle the Sidebar there as well:
Next, let’s open the DAZ Import Blender plugin by clicking it’s tab in the Sidebar:

And press the Global Settings button. A new window will open:

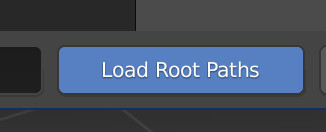
Click the left most bottom on the 2nd row from the bottom marked “Load Root Paths”:

A File Open dialog will open and navigate to where you saved the import-daz-paths.json file in Step 10 above, and click on Load Root Paths:
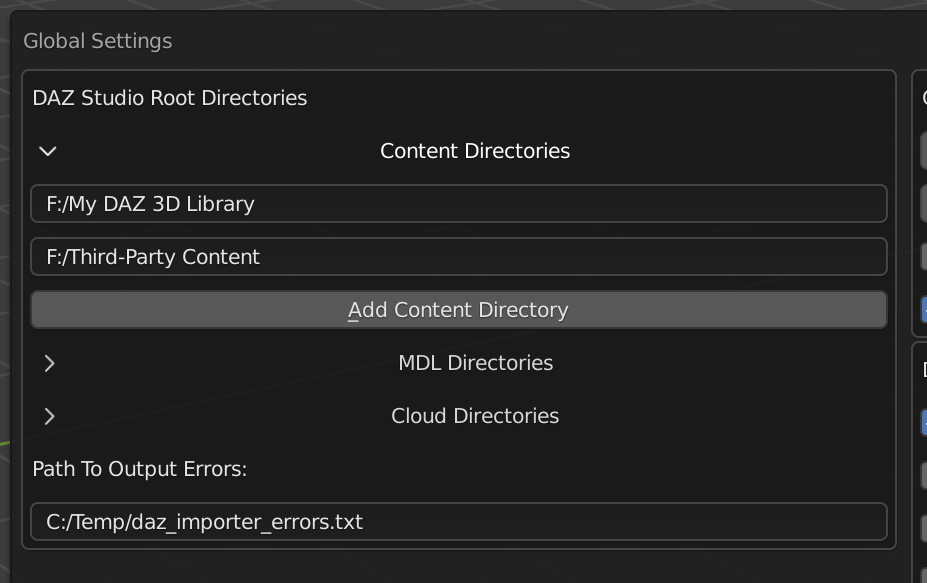
The Global Settings window will disappear. But if you open the Global Settings again, you should now see all of your DAZ Studio Content Libraries now populated!
Step 12 - Exporting your first scene from DAZ.
Step 12 - Exporting your first scene from DAZ.
Let’s switch back over to Studio and bring over our first model because that’s why you’re here, right? 
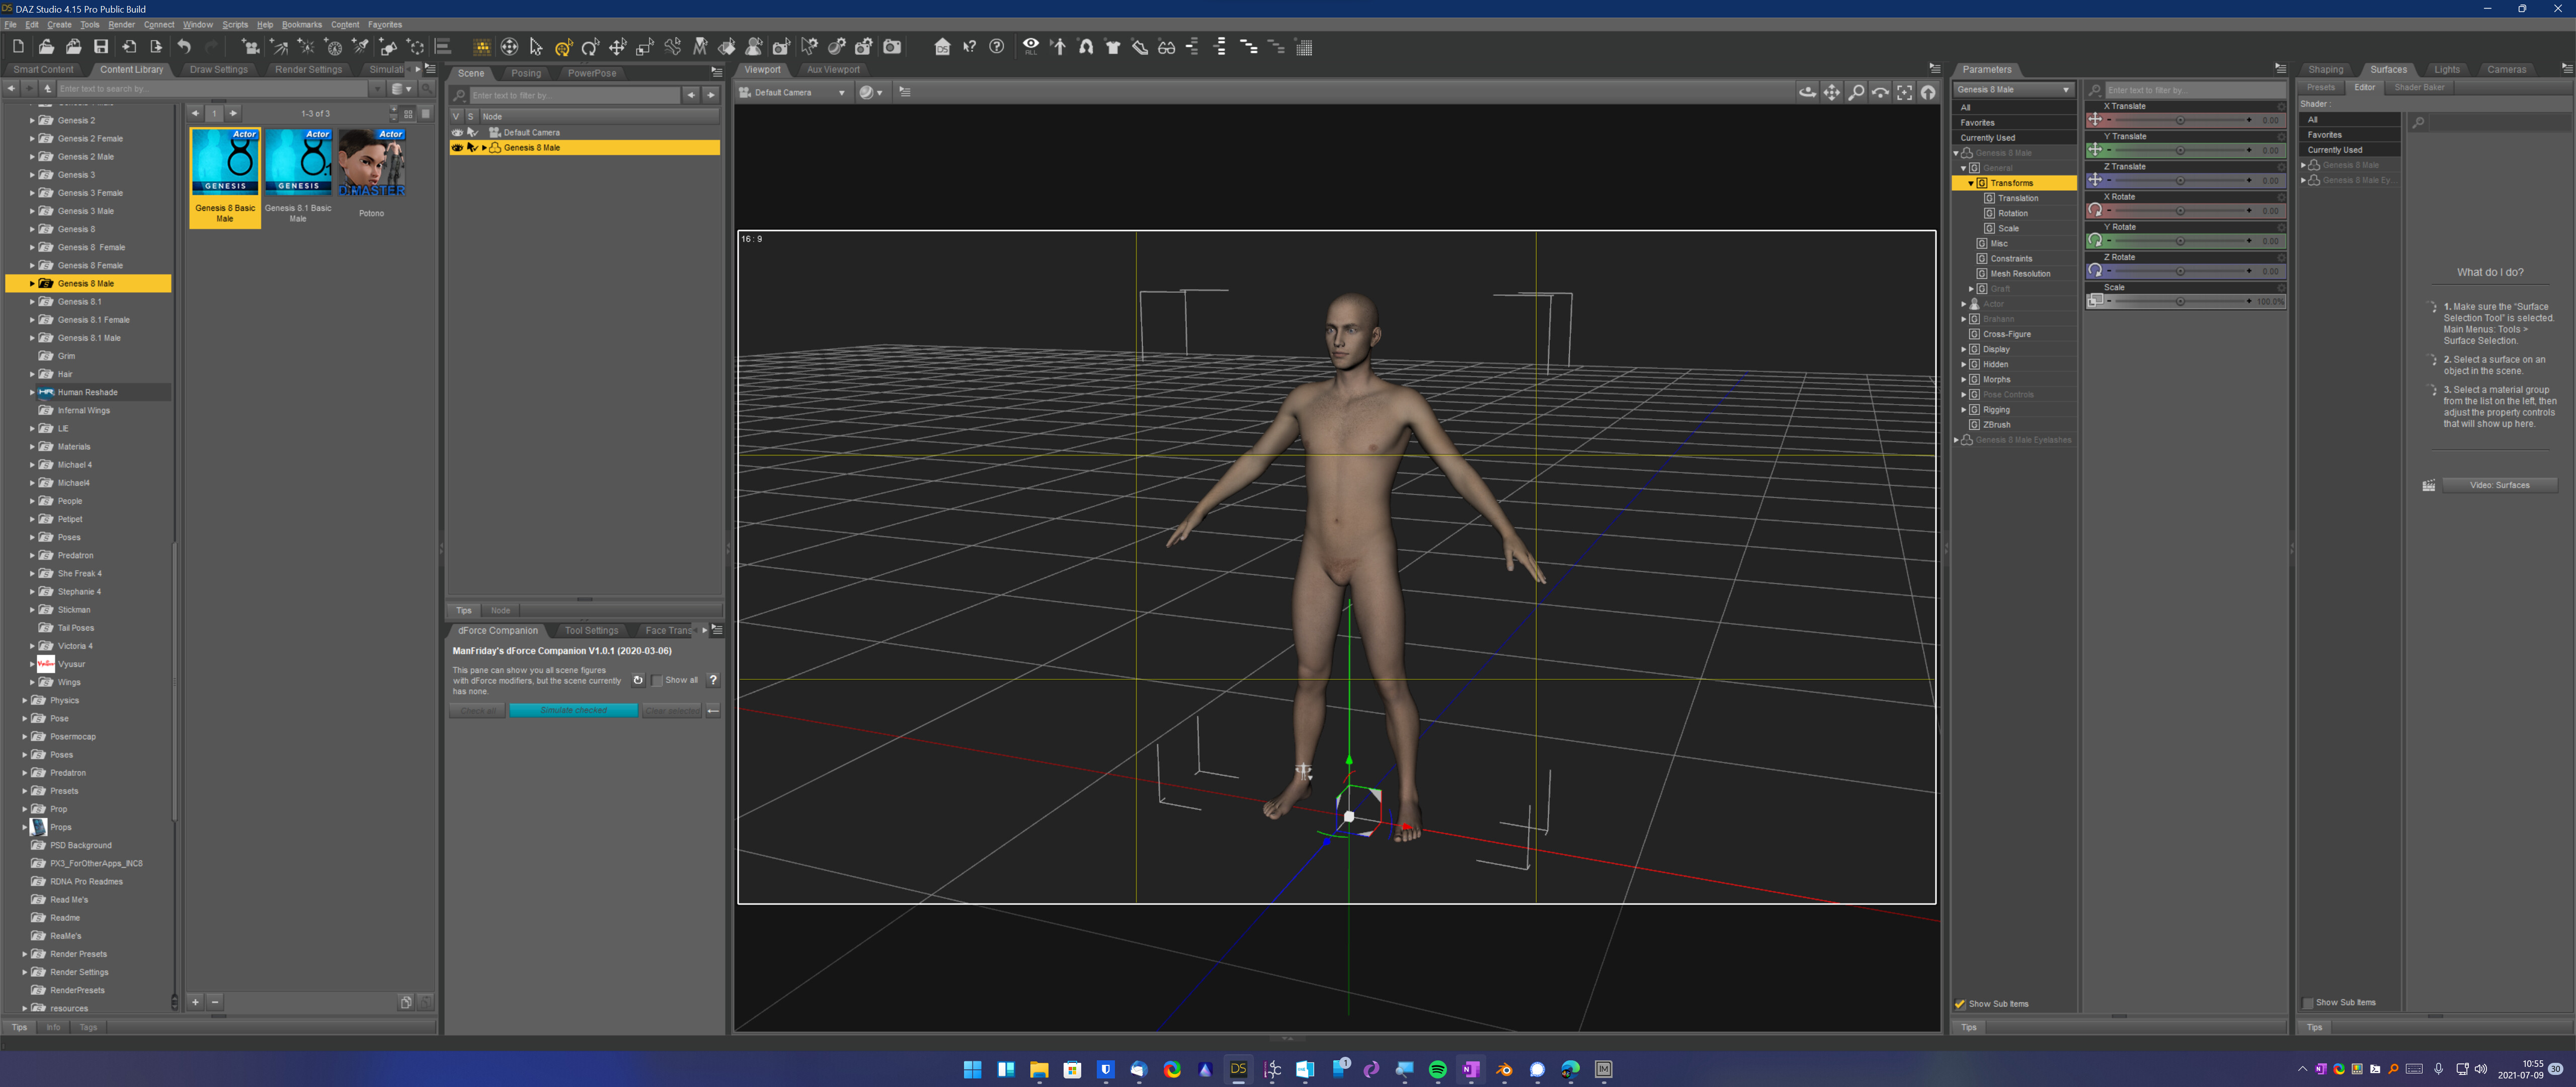
Here I’ve imported the default Genesis 8 Male character into Studio.
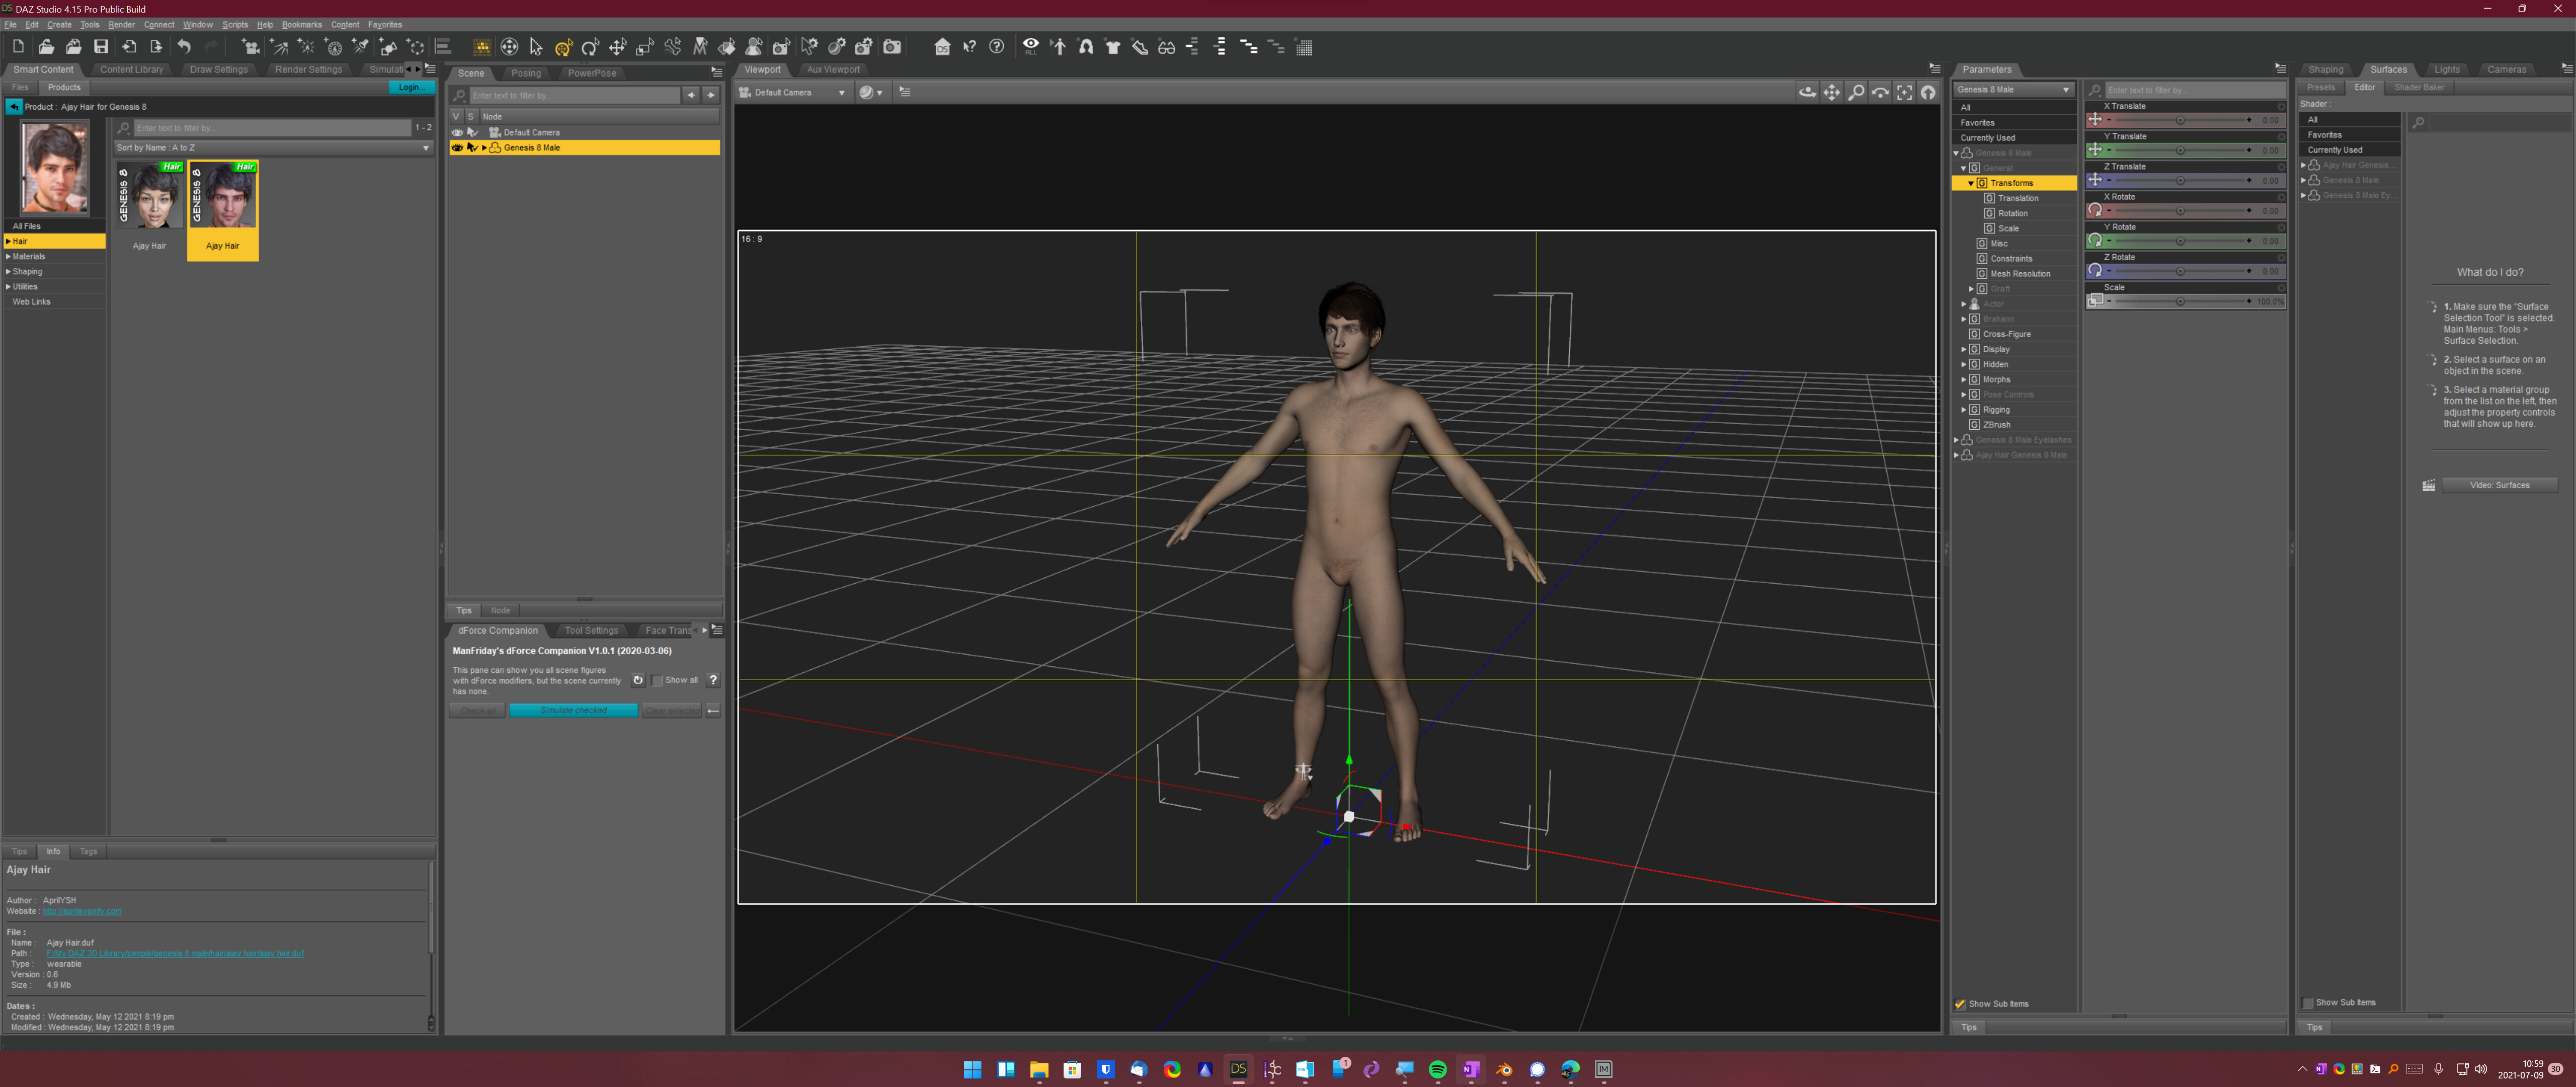
Let’s give him some hair and underwear.
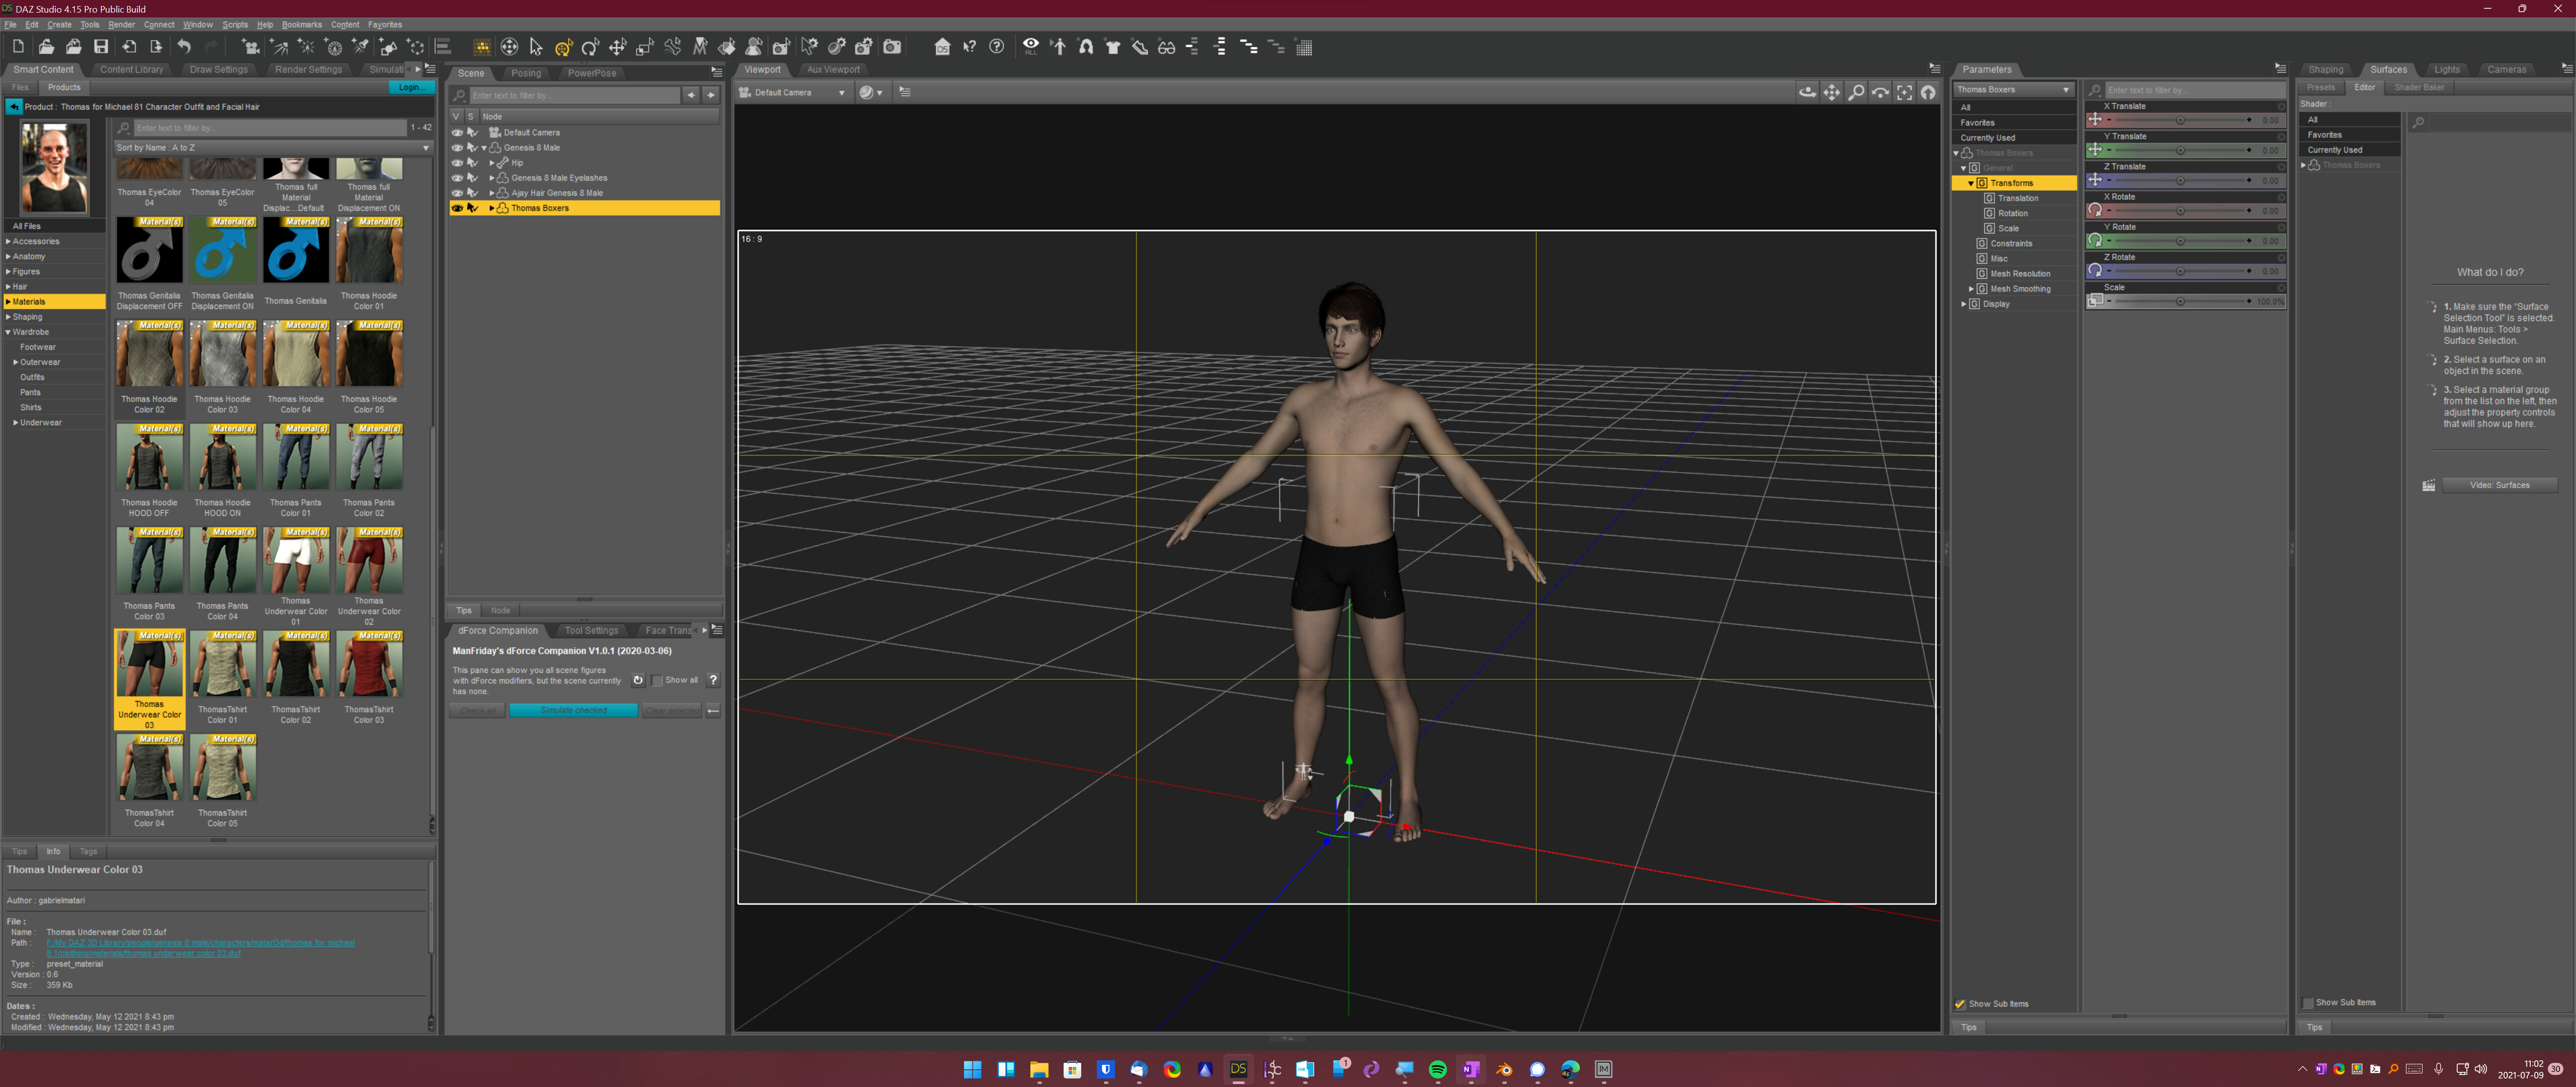
This next part is very important.
Let’s save this new figure out as a scene. I’m just going to call mine Blender Test.duf.
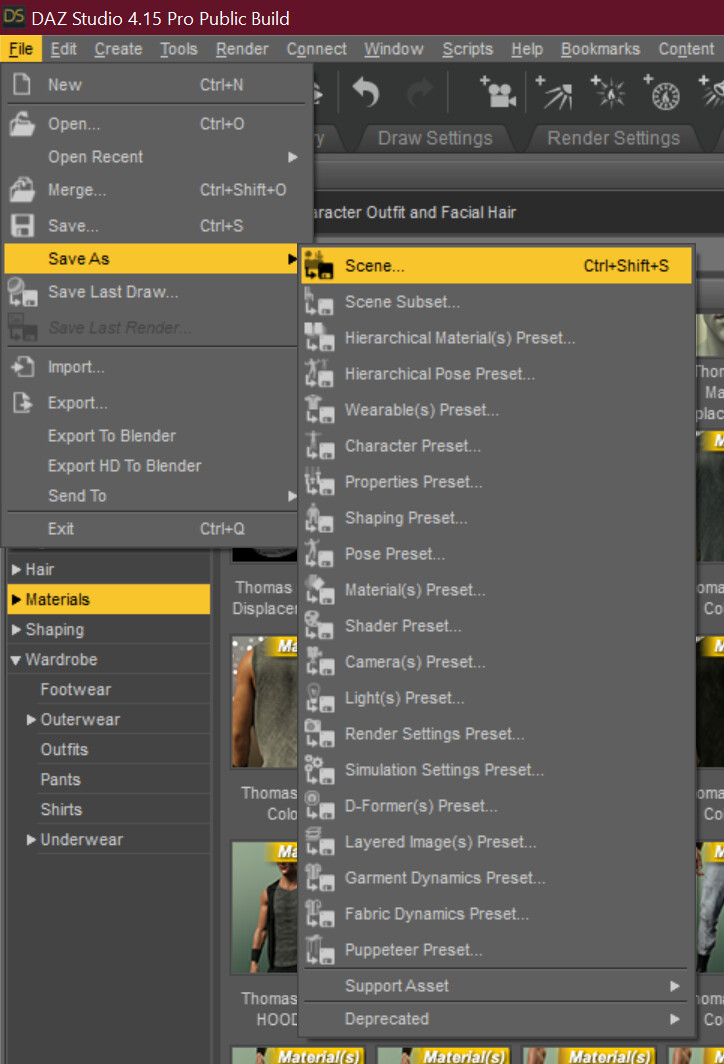

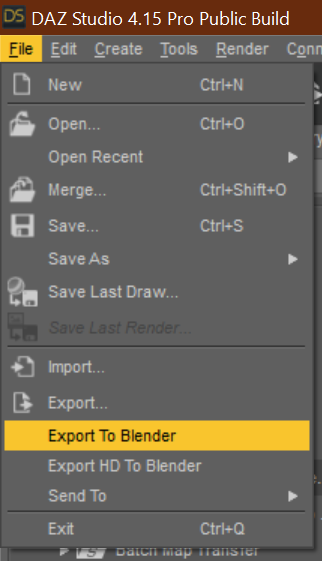
Now we can go ahead and export the figure/ scene to Blender. Go ahead and click on File > Export to Blender.
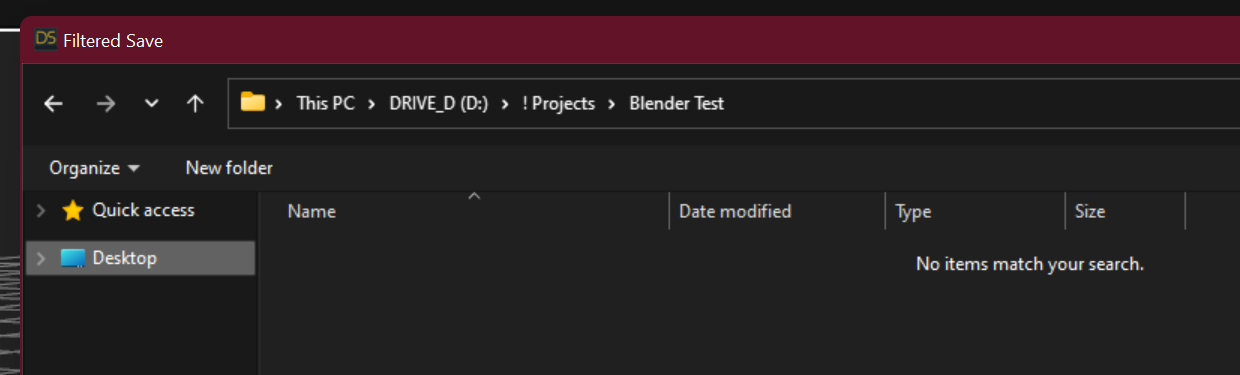
You’ll notice that the Save As window is already where you saved your scene originally:

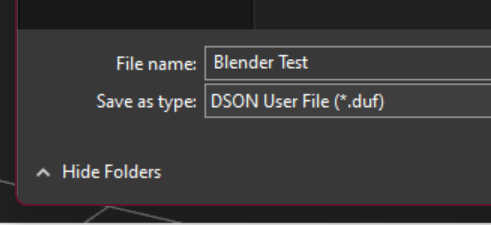
And that the file name is already filled-in for you:
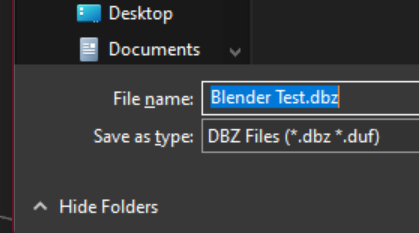
Do not change anything here!
Click Save.
Don’t worry, it won’t overwrite your scene file.
Now, let’s switch over to Blender and load our first figure!
Step 13 - Importing your first scene into Blender.
Step 13 - Importing your first scene into Blender.
In Blender, make sure the Sidebar is expanded, and the DAZ Import plugin is selected, and click on the button marked Easy Import DAZ.

And navigate to where you saved the Scene and Export file out from Step 12 above.
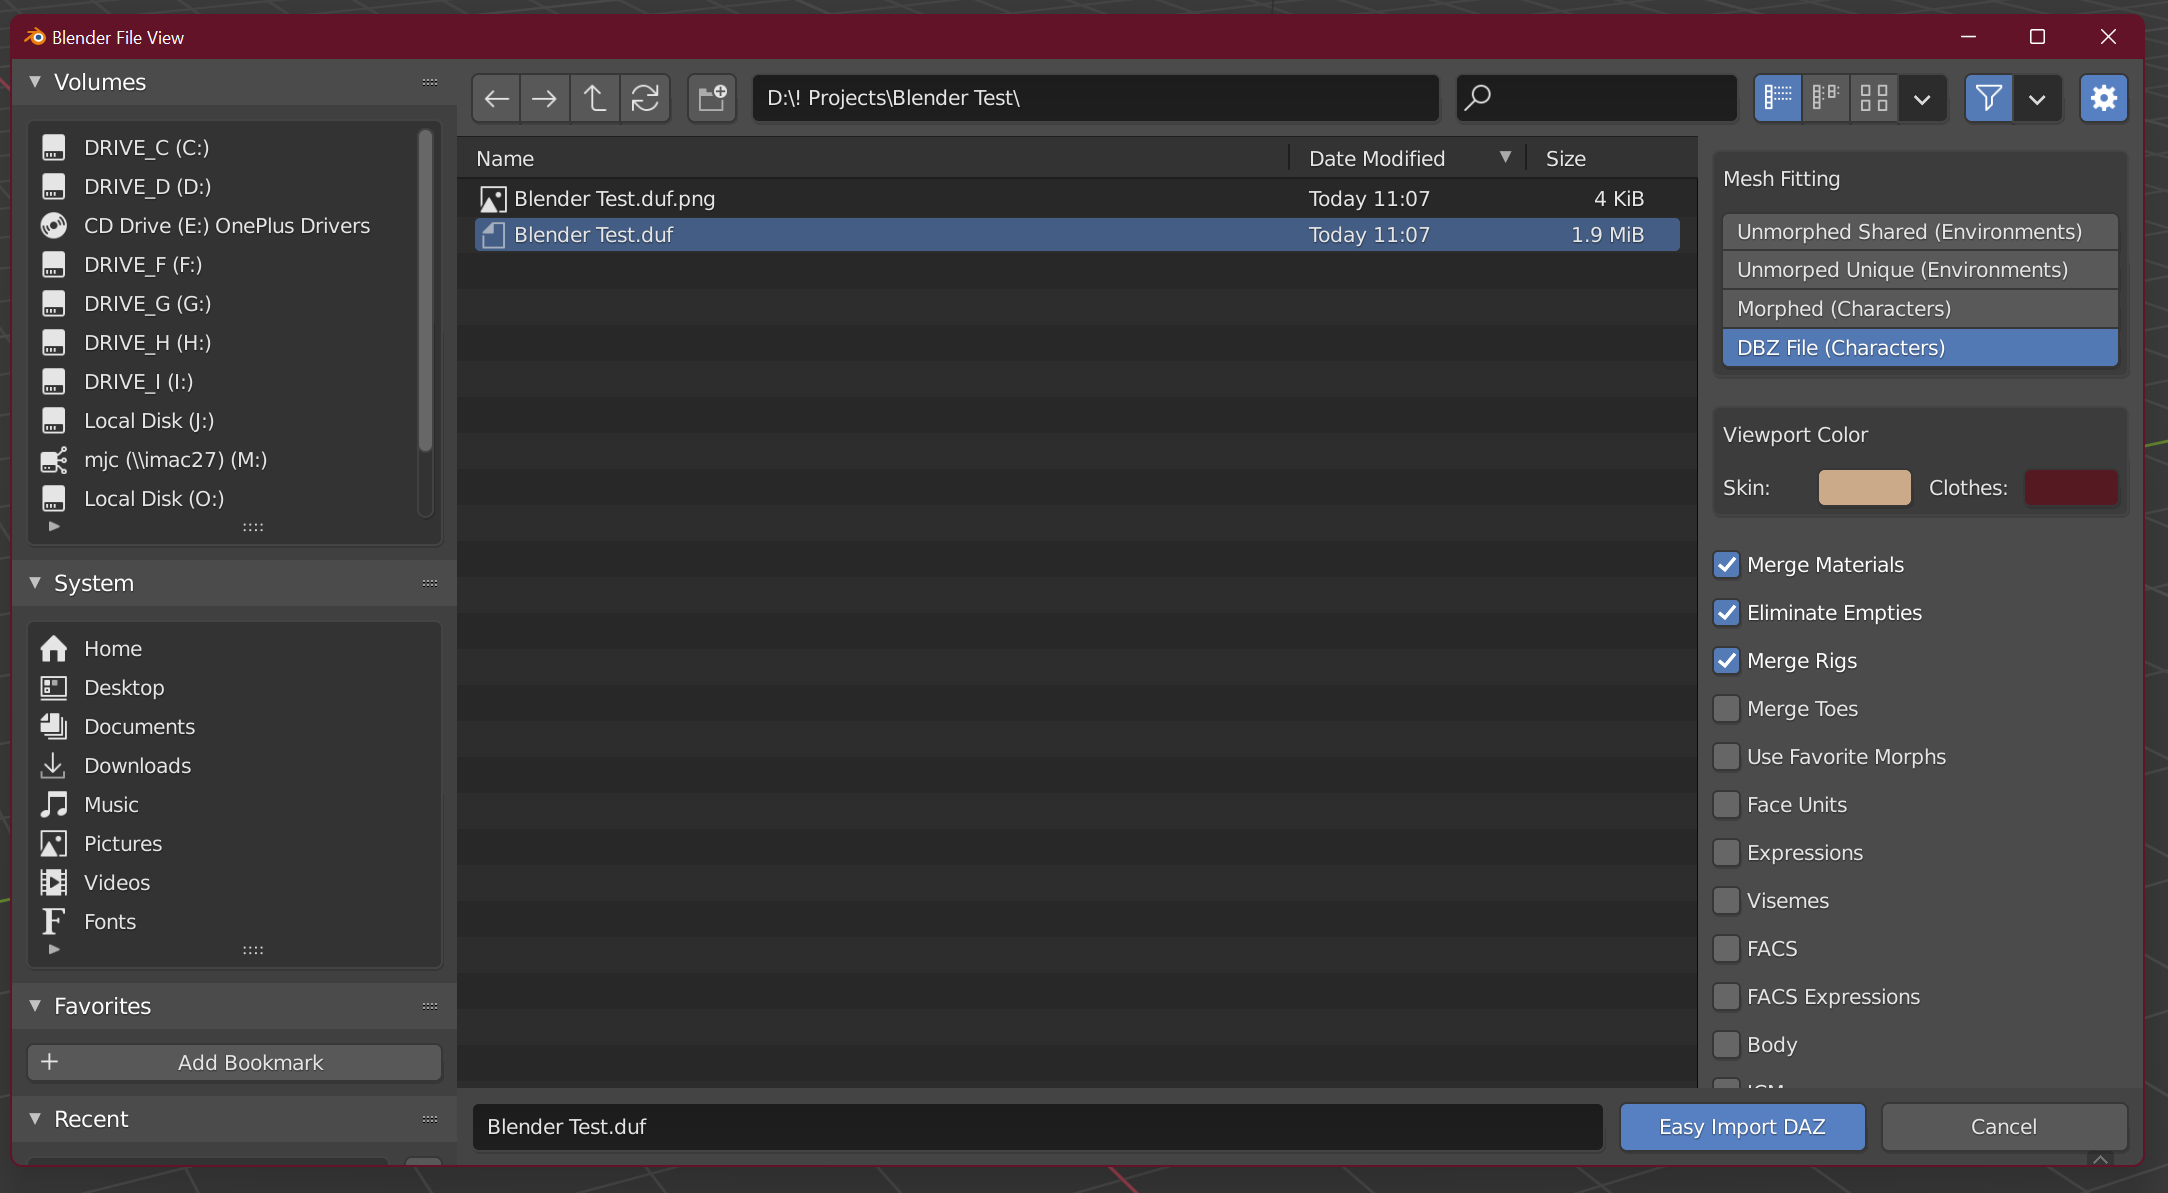
As you’ll see we have some options on the right. Here are the options I usually select. YMMV depending on the type of scene you want to render and the figure you’re loading.
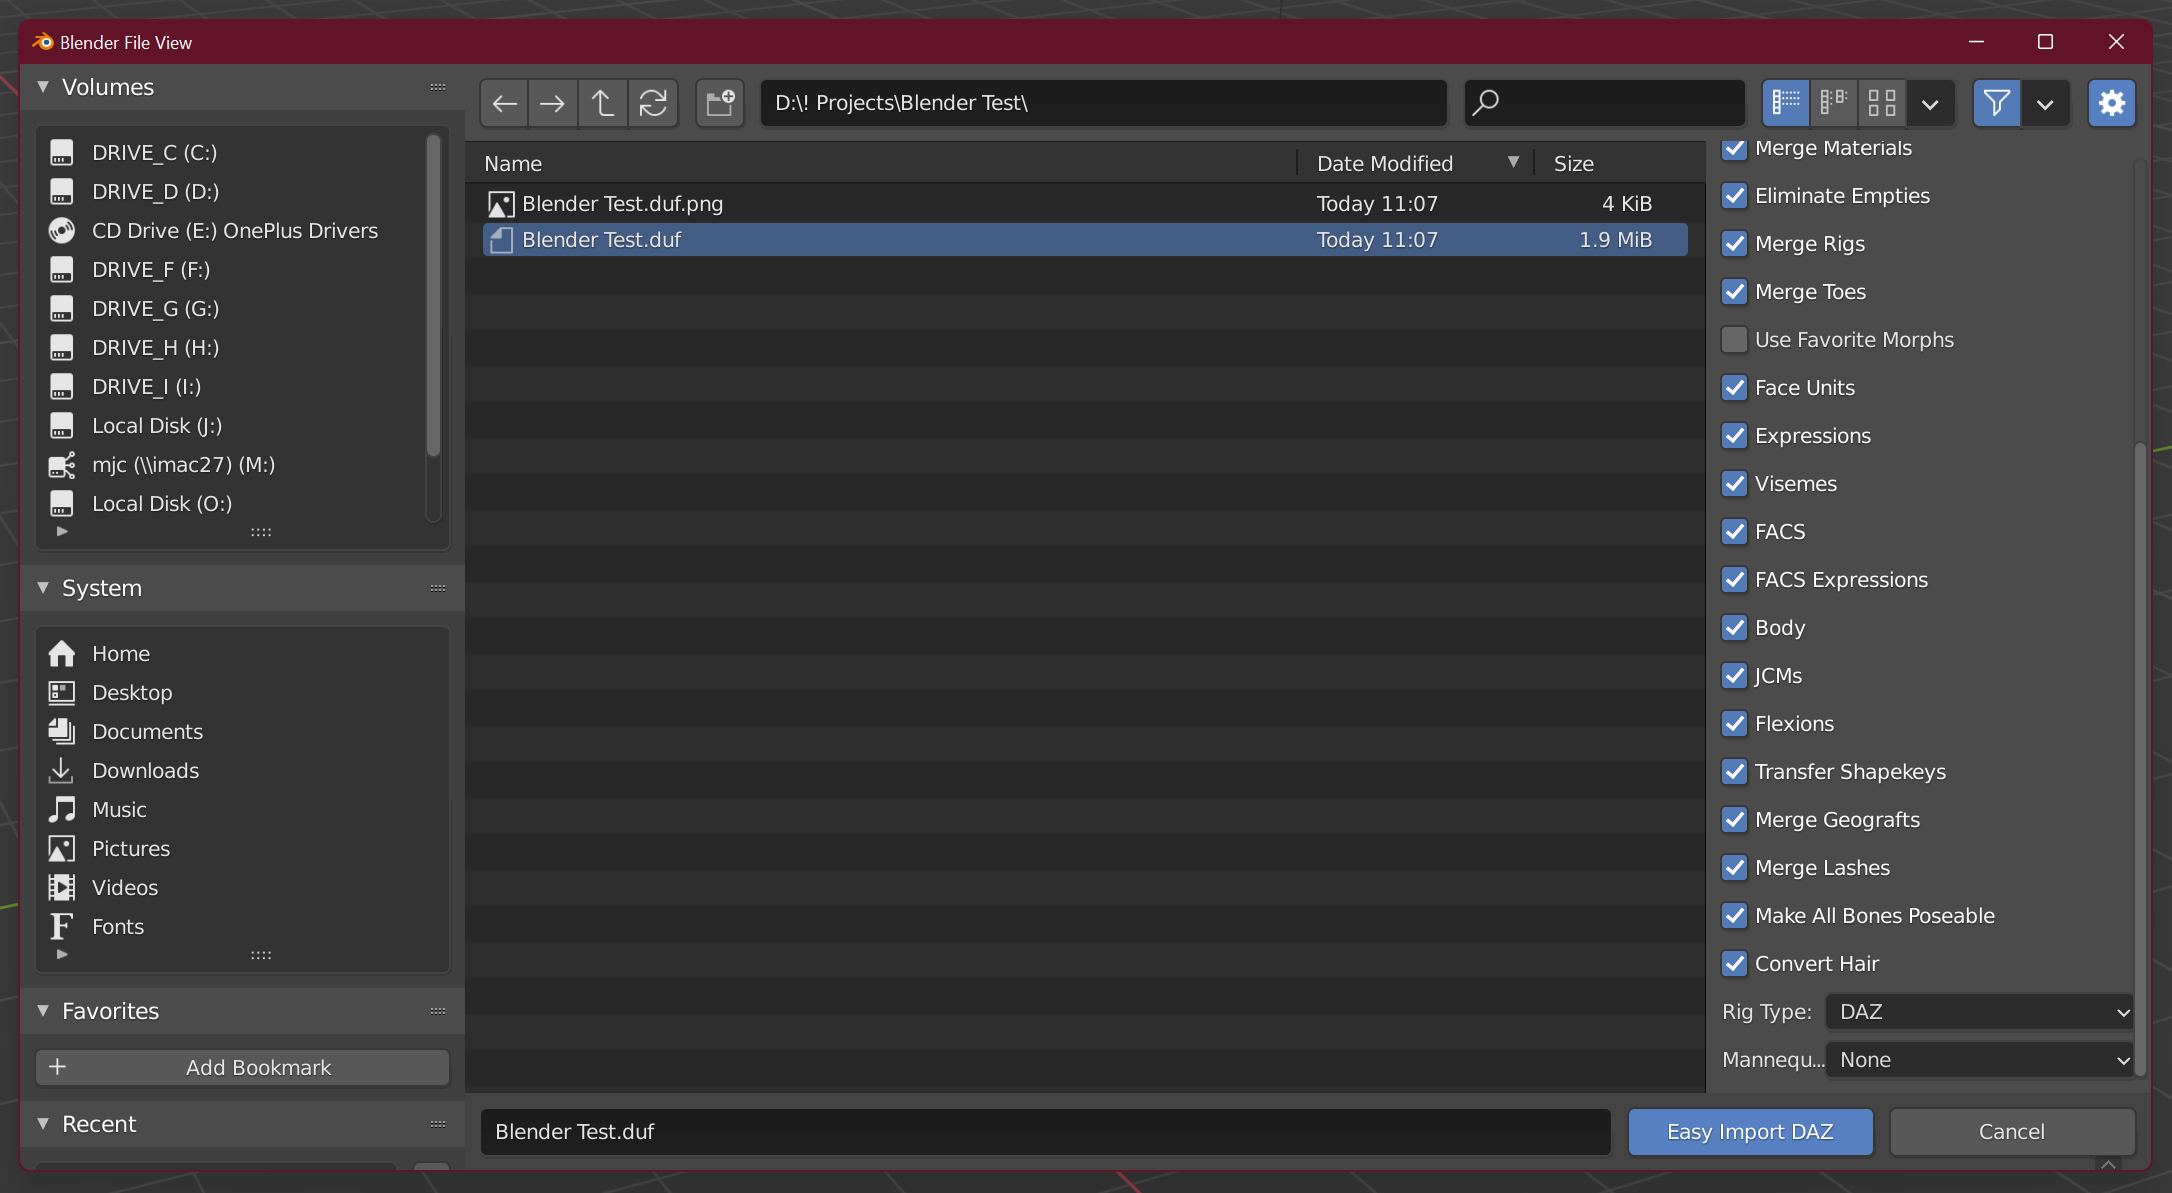
Click Easy Import DAZ when you’re ready to load the figure into the scene.
After a few minutes the scene should be imported. Any warnings you might get will appear in a new window on the screen:
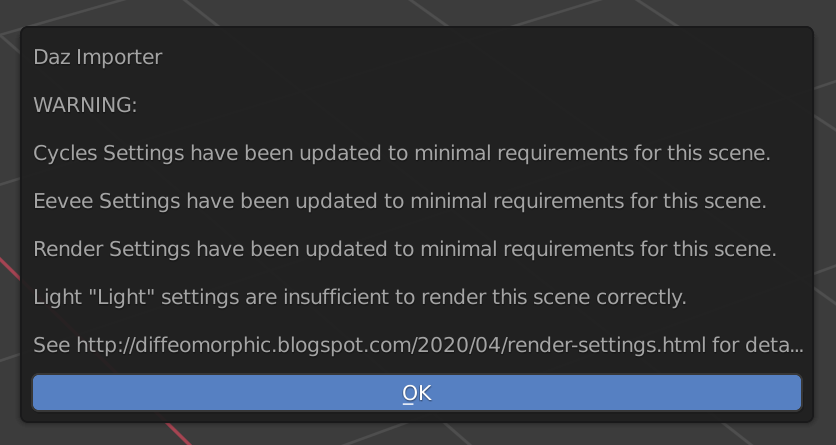
Click “OK” to dismiss the warnings.
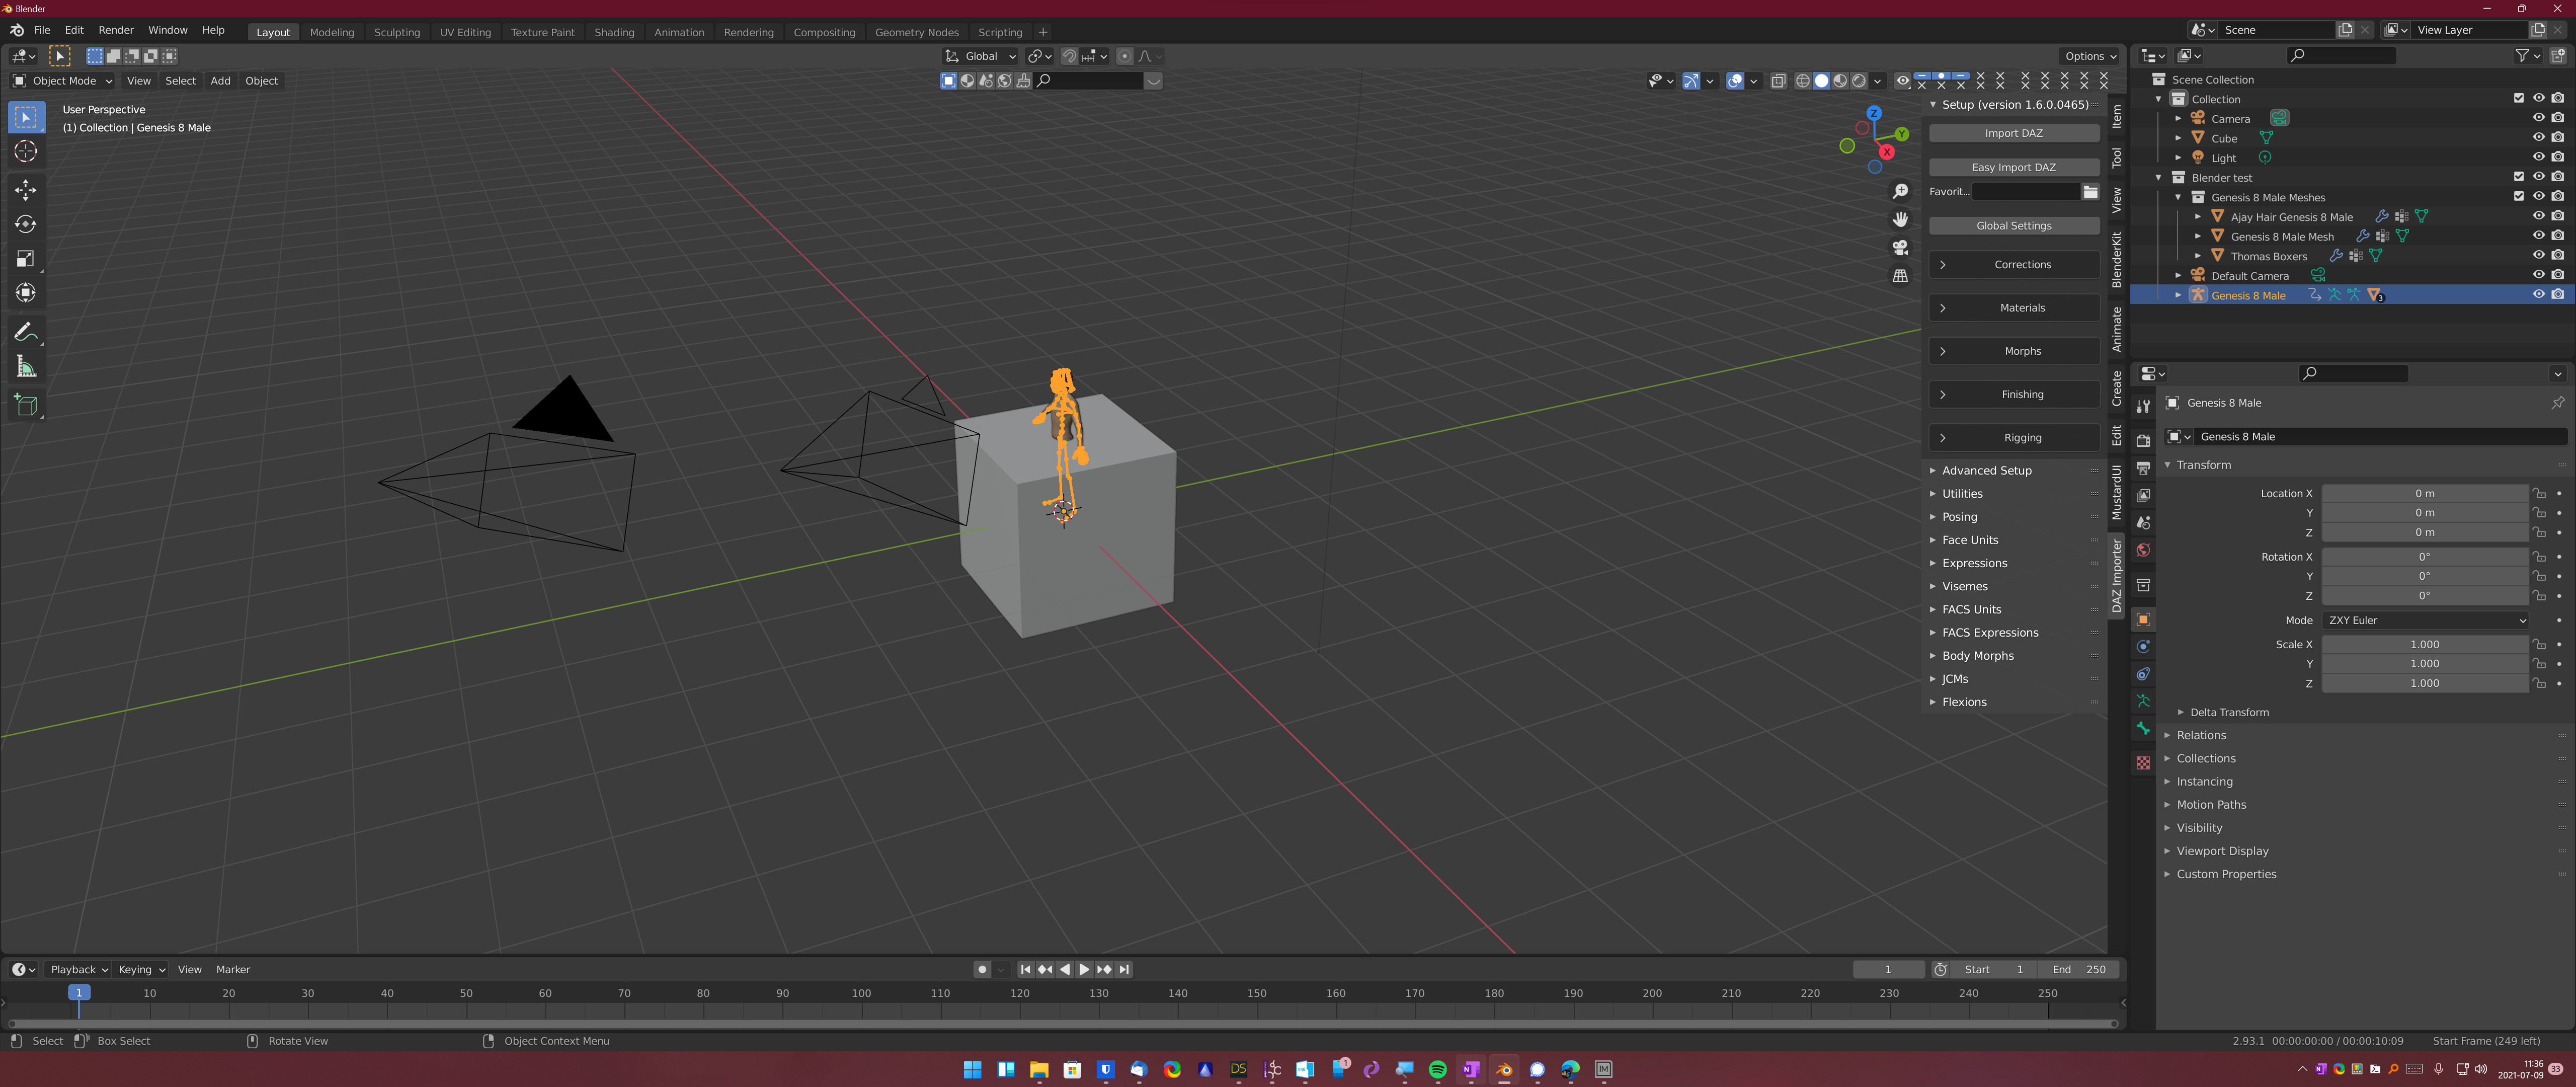
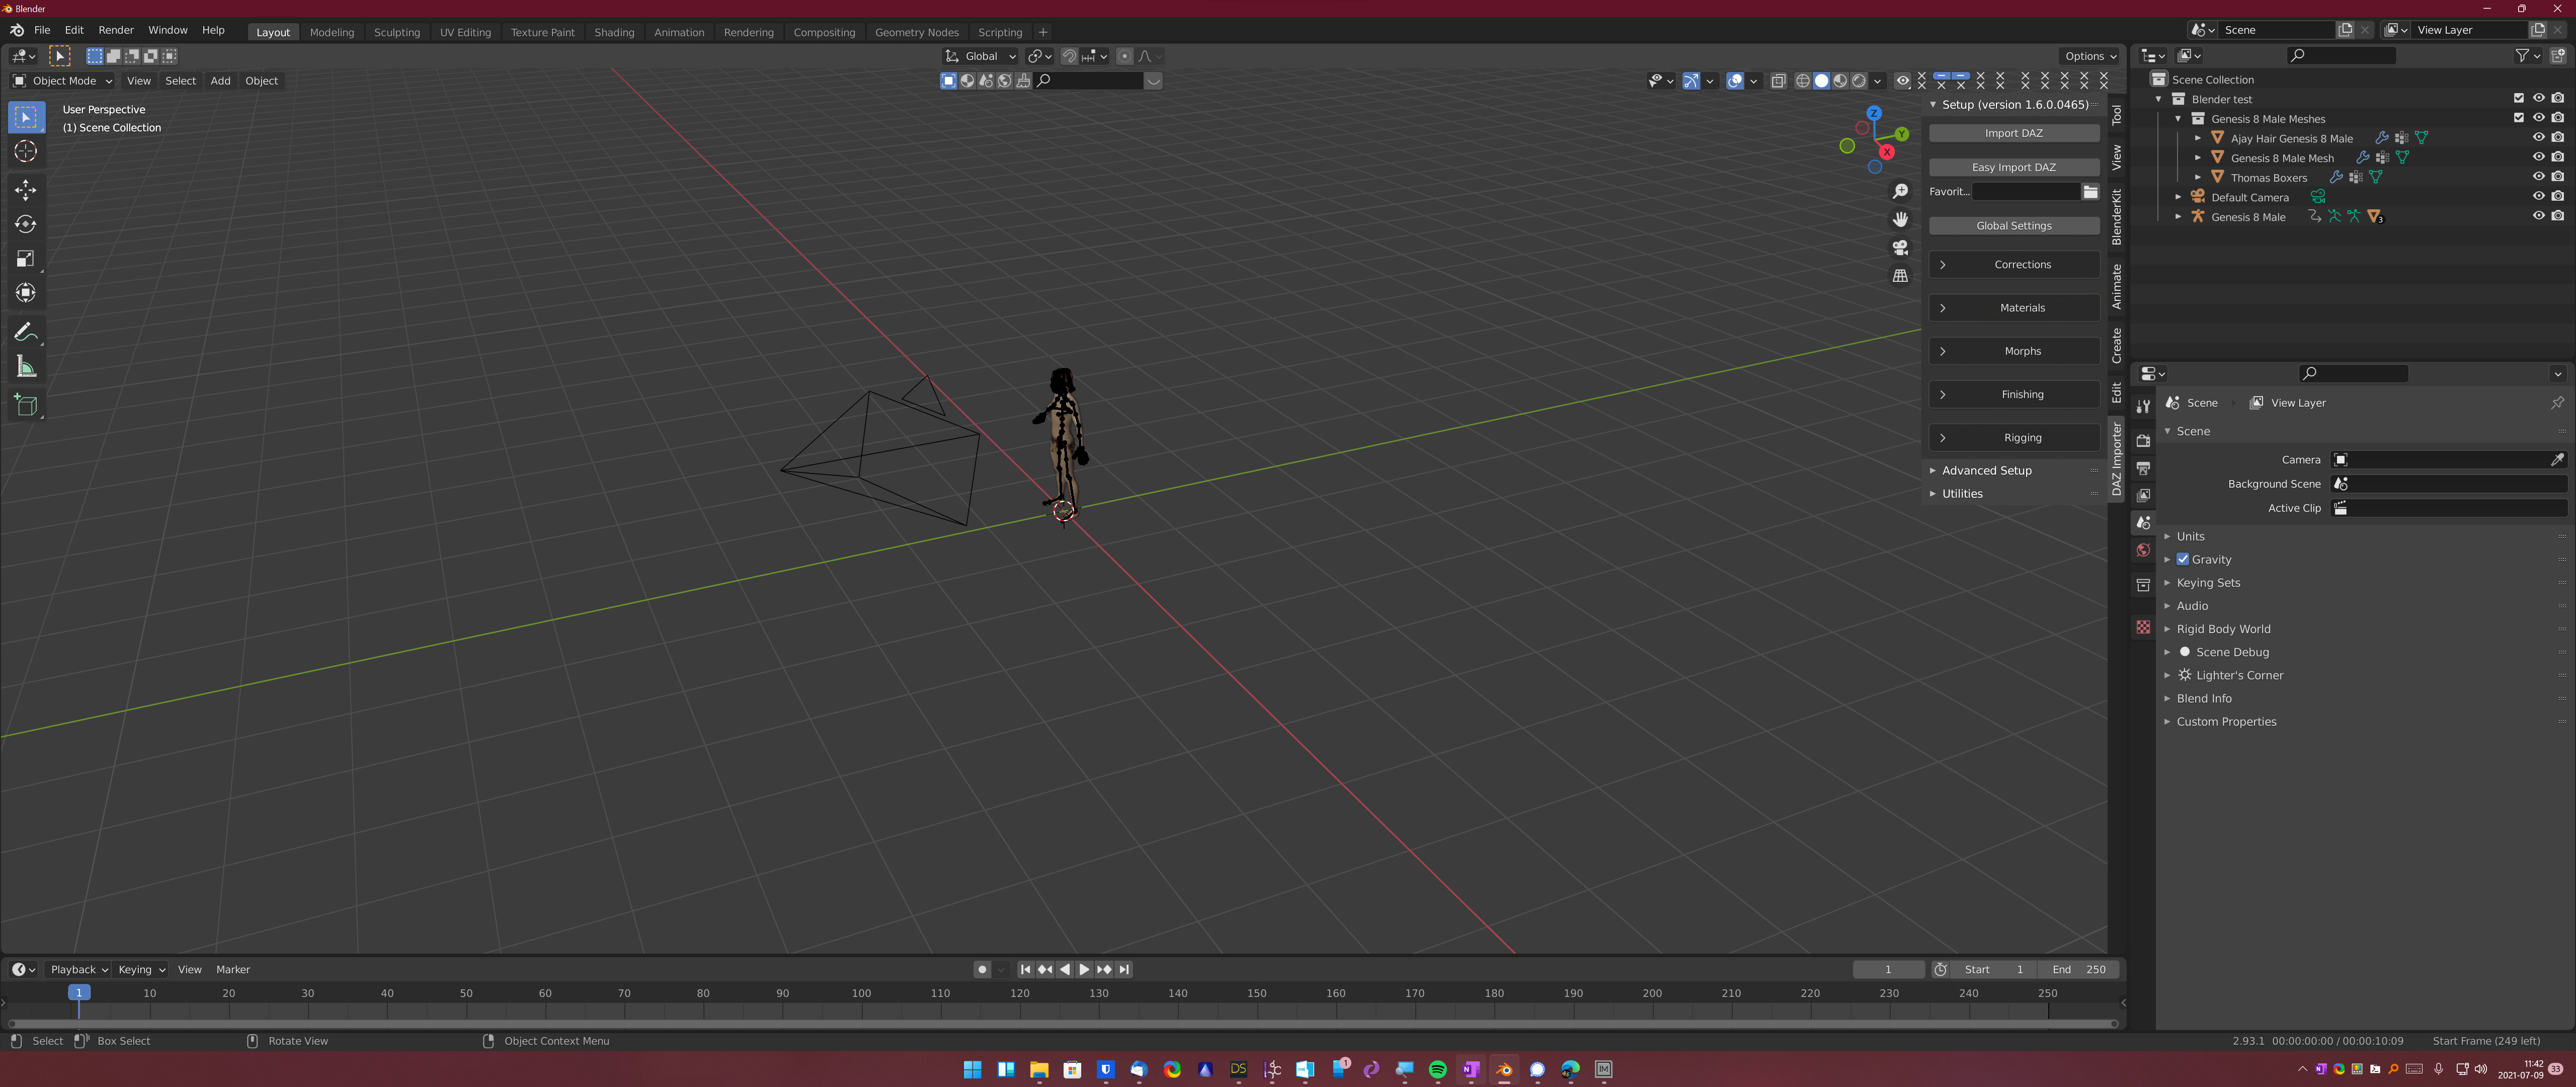
So now we’ve got the default Blender cube and our scene/ figure. Let’s delete that cube since we’re not going to do anything with it.
Two ways to delete it.
One way is to simply click the cube and press the Delete or “X” key:
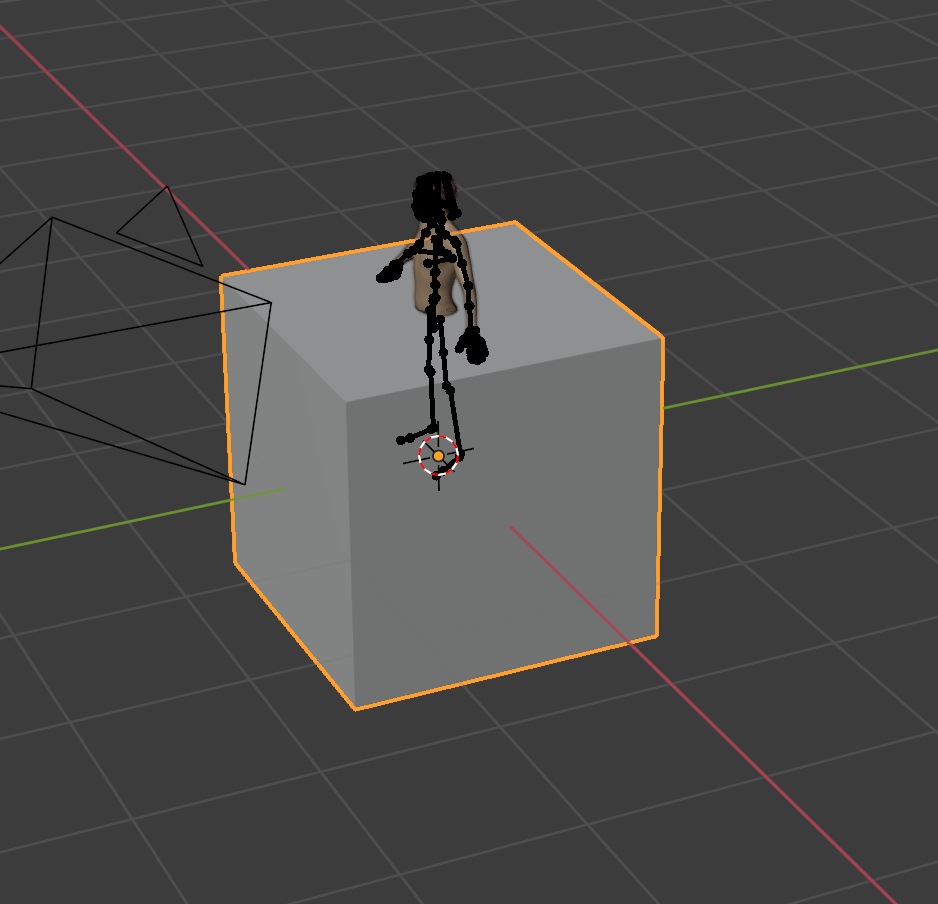
Which will delete it:
The second way is to delete the collection from the Scene Collection by right-clicking on the collection and selecting “Delete Hierarchy”:
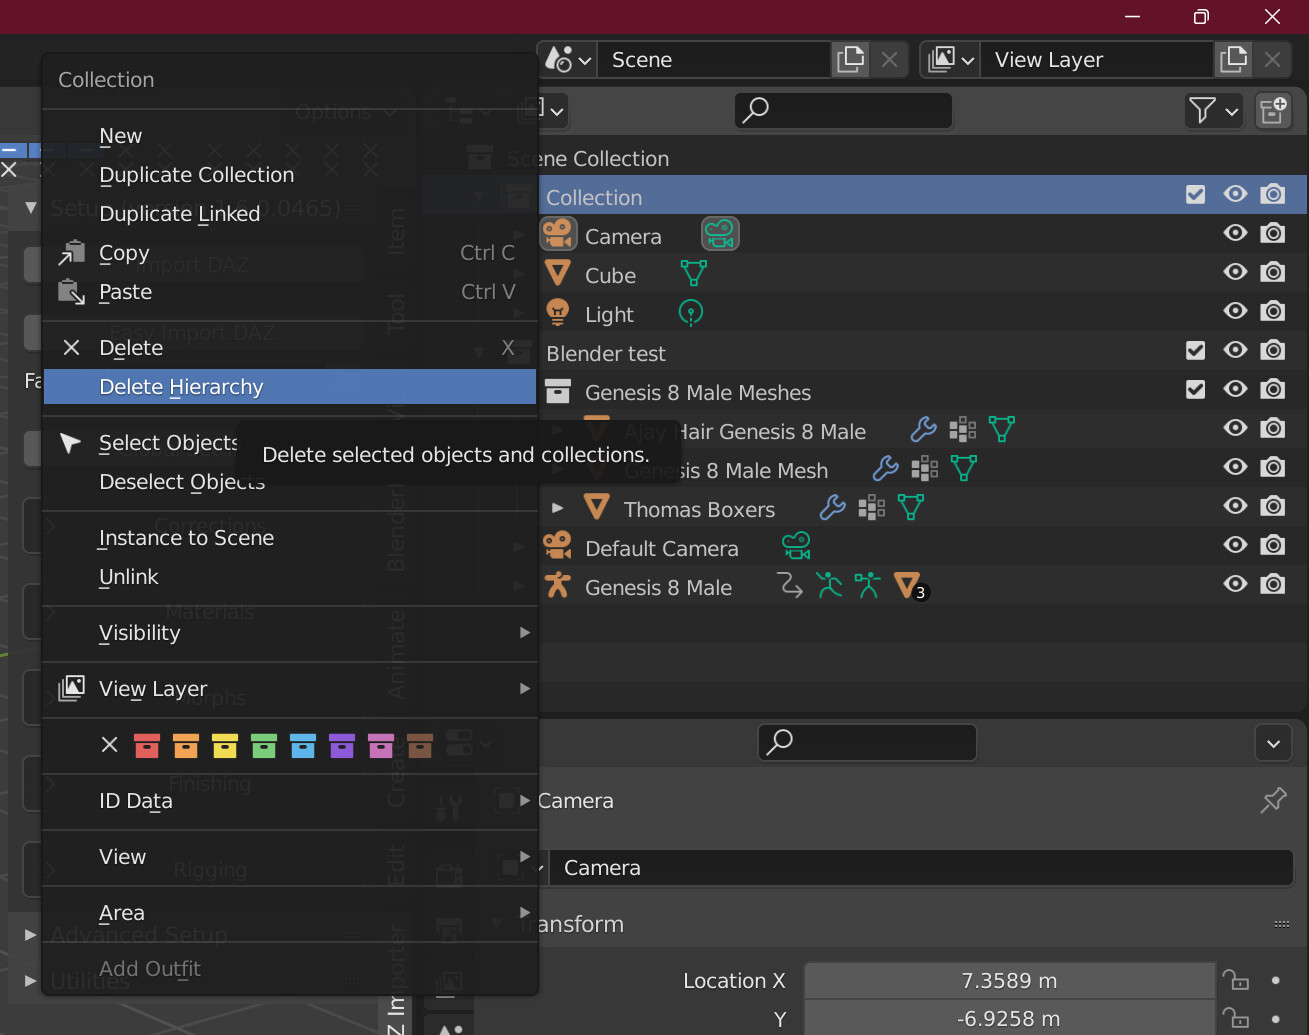
Either way, we don’t need the cube any more so let’s get rid of it!
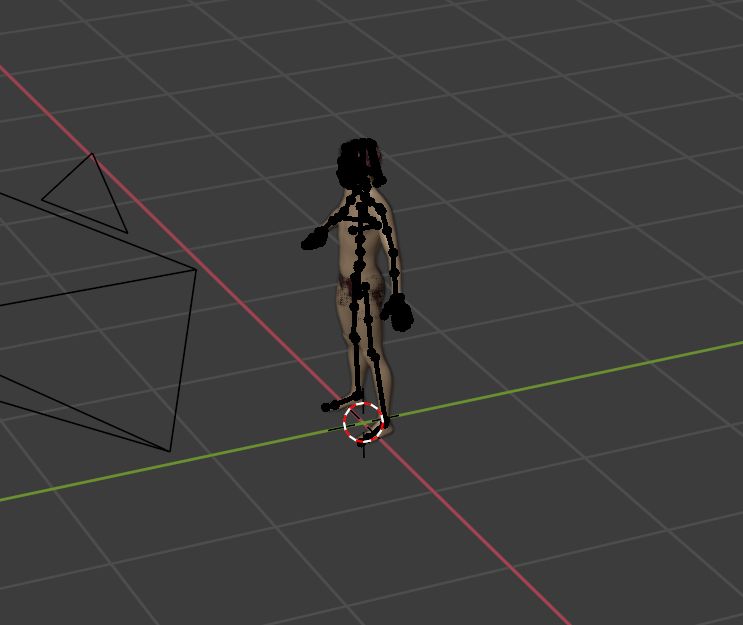
And now we have a Blender scene with our Genesis 8 Male figure!
Step 14 - Let's save what we've got for the future.
Step 14 - Let’s save what we’ve got for the future.
Before we go any further, let’s save our scene out as a native .blend file so we can load it up again in the future.
Before we save everything out, let’s make sure some important options are selected that will help us going forward.
Go into File > External Data and make sure Automatically Pack Into .blend is checked. Get in the habit of checking this.This will save you a lot of grief and aggravation going forward.

Now, go into File > Save As:

And save the scene out where we created our DAZ Scene.
Hint: The Blender Test folder we’ve used above should be listed in the Recent Folders list on the left side of the Save As window. You might need to scroll the left-pane down in order to see it.
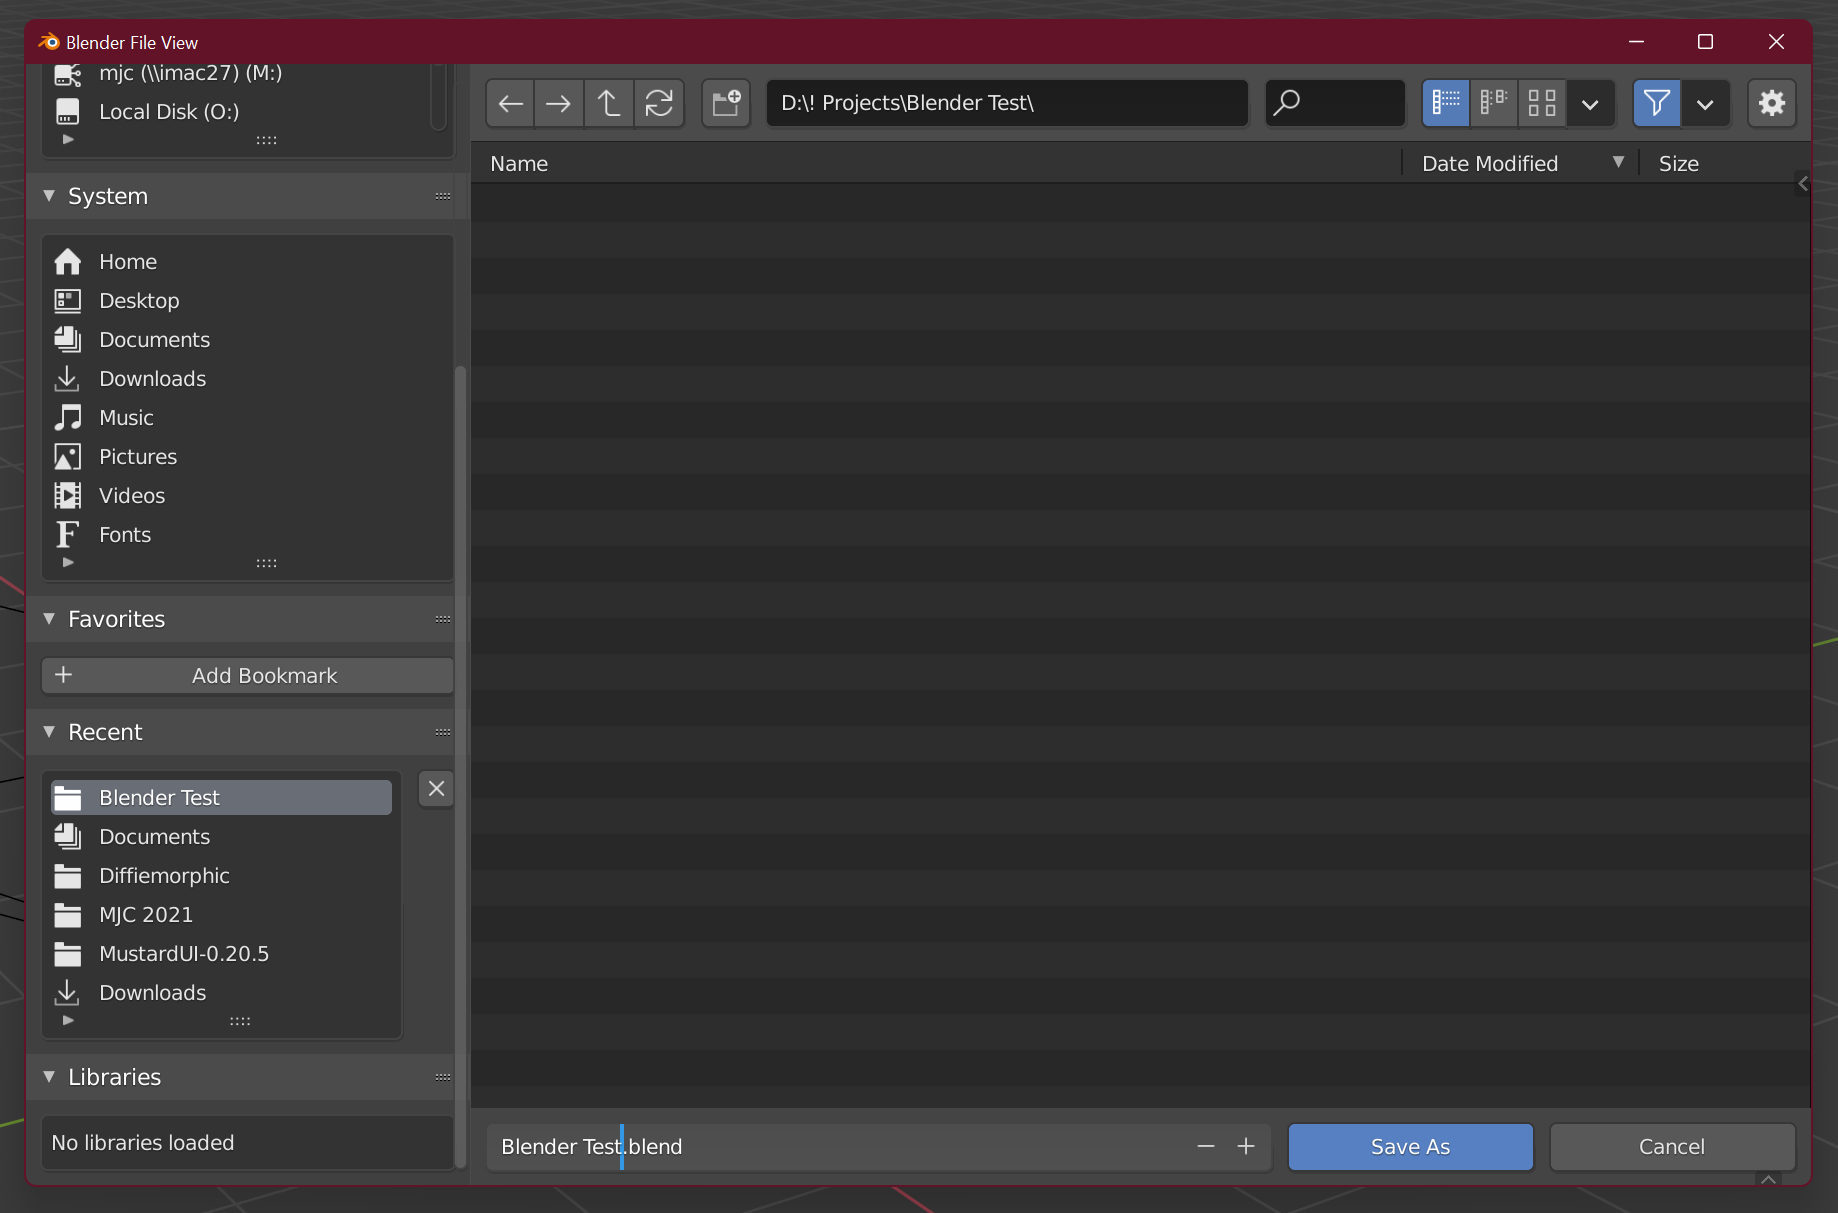
Click Save As when ready.
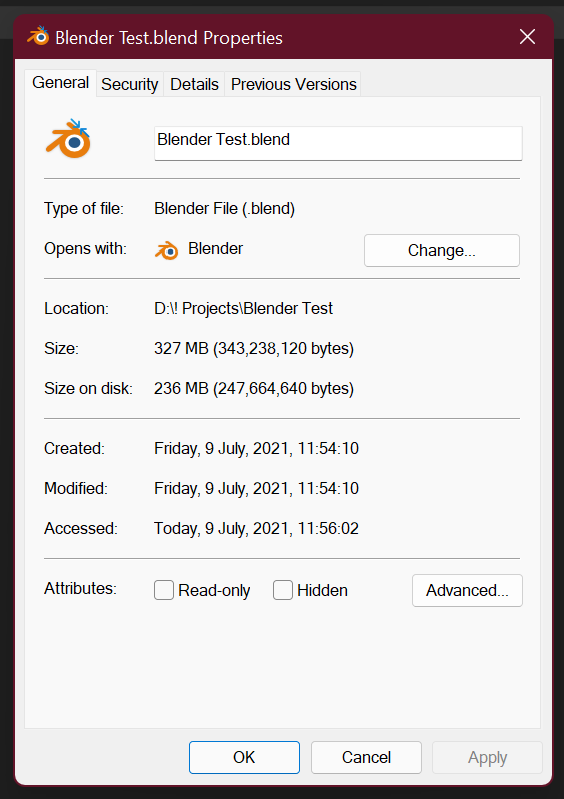
Now when we look at our Blender Test folder in Explorer we see we have (a quite large) .blend file. The file is large because it now has all of the DAZ assets and Blender converted assets inside it. This will help you going forward as you work with Blender since you won’t have to worry about something accidentally getting moved or deleted.
If you want to turn on Folder Compression, the .blend files will compress quite nicely. Shaving about 30% off the file size by my rough estiamte:
And that’s it. That’s how you install Diffiemorphic (which is much better than DAZ’s “Daz To Blend” script) and shows you how to import a scene into Blender.
In the next tutorial I’ll go over navigating Blender from a DAZ Studio users’ perspective and how to do some basic things like posing your figures and characters actually IN Blender.
I hope you found this useful.